

Storage Area Networks (SANs) are used in most Enterprise class networks, you’ll also find them at a lot of small and medium businesses. A lot of systems rely on SANs to provide high availability features. A SAN is great to have for setting up shared storage for any type of cluster. Fiber used to be dominant for SAN connectivity. You’d need Fiber Host Bus Adapters (HBAs) in every server you wanted attached to your SAN, and a Fiber switch to connect everything. Then came iSCSI, which works with much cheaper Network Interface Cards (NICs), and can use regular network switches, as well us much cheaper copper cables. At first iSCSI wasn’t as fast as Fiber, topping out at gigabit speeds, so if speed was important, you’d stick with Fiber. Now with 10Gigabit Ethernet being readily available, you can get iSCSI SANs that are both cost effective and high performance.
A full blown hardware SAN is still very expensive, so you’re probably not going to buy one for a Lab. Luckily there are a few ways you can create Virtual SANs for FREE! For Part 2 of my Budget Laboratory series, I’m going to show you how to create an iSCSI Virtual SAN with FreeNAS 8. FreeNAS is another great open source product based on FreeBSD.
This portion of the lab build can be done at absolutely no cost, assuming you already have the required hardware.
- You will need:
- VMWare Workstation OR VMWare Player*
- FreeNAS 8**
- 300 GB of free space
*If you followed Part 1 of this series, you should already have VMWare Workstation, which has a free trial, and you will need to use it. VMWare Player is completely free, you should be able to setup your Virtual SAN using it if you so choose, however I’m using VMWare Workstation for the creation of this article.
**I’m using the 64-bit version for this article.
Step 1: Create a Virtual Machine for your Virtual SAN
If you haven’t already, open VMWare Workstation.

From the “Home” screen, click the “New Virtual Machine” button, or hit “CTRL+N”.
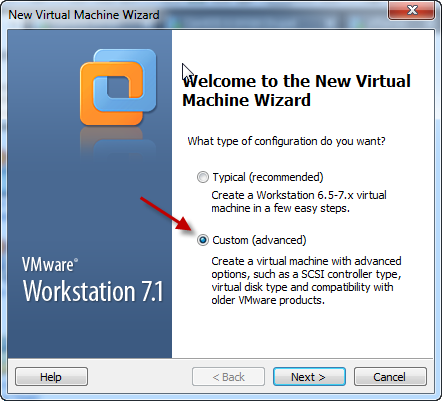
Select “Custom (advanced)” and click “Next”.
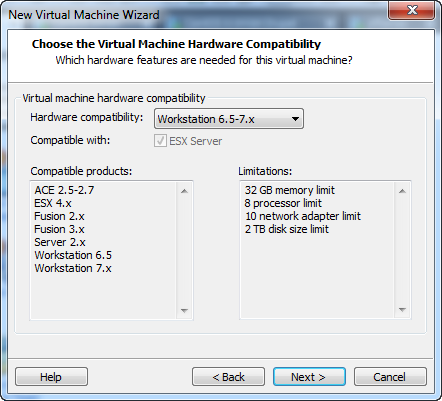
Accept the defaults and click “Next”.
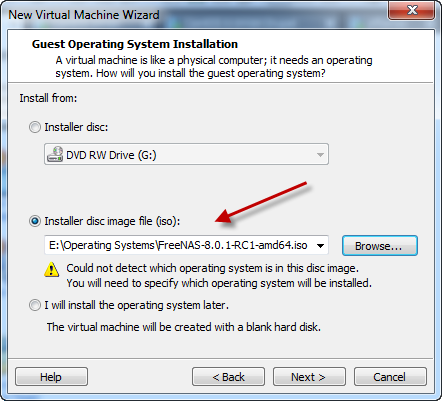
Select “Installer disc image file (iso):”, browse to the location where you saved your FreeNAS .iso at, then click “Next”.
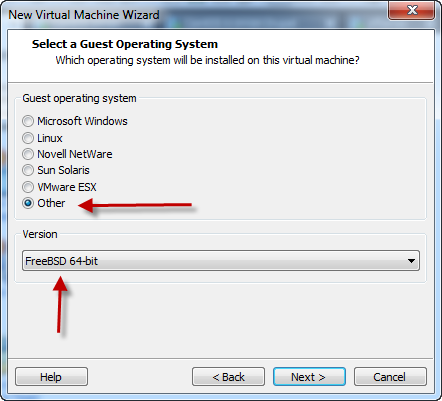
Select “Other”, then select “FreeBSD 64-Bit” from the drop down list, then click “Next”
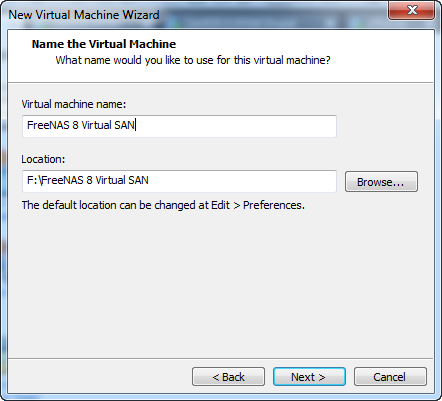
Give your VM a name, then click “Next”.
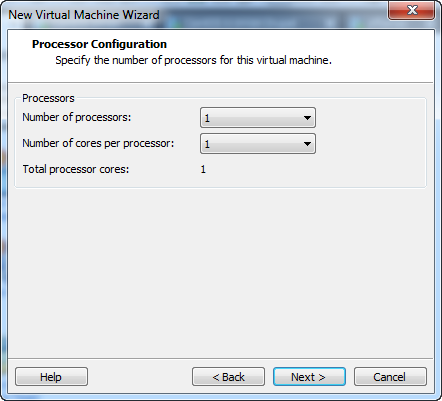
Accept the defaults for the CPU and click “Next”.
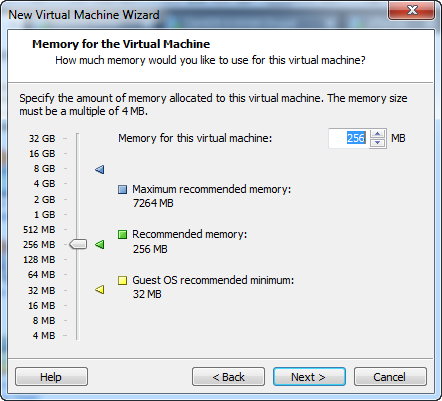
Accept the defaults for RAM and click “Next”.
UPDATE: The recommended minimum RAM for FreeNAS 8 is 512MB, so you should probably change your RAM to 512MB here. However, I have been running it with 256MB without issues. You can always increase the RAM on your VM later.
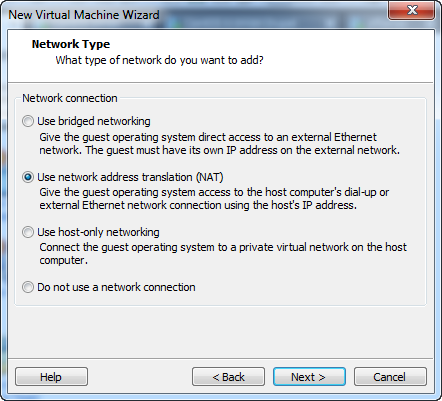
We’ll be changing the Network settings later, so this page doesn’t matter, click “Next”.
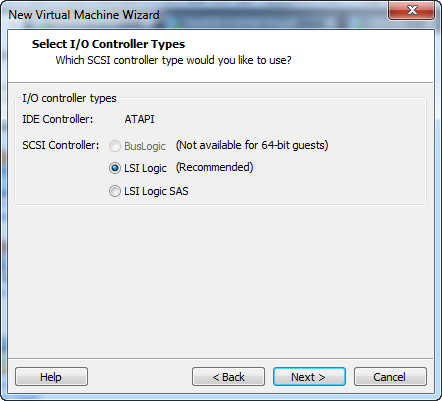
Accept the defaults for I/O Controller types, and click “Next”.

Select “Create a new virtual disk”, then click “Next”.

Select “SCSI”, then click “Next”.
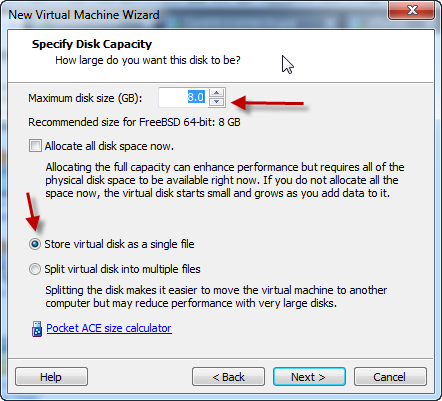
Accept the defaults of 8 GB and “Store virtual disk as a single file”, then click Next.
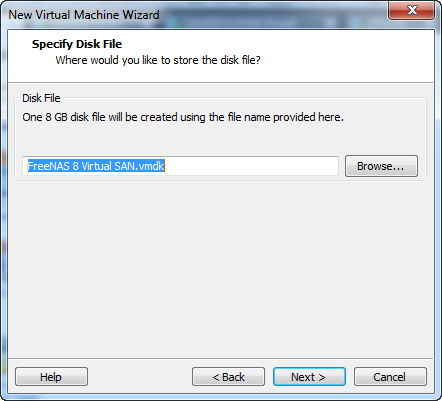
Accept the default and click “Next”.
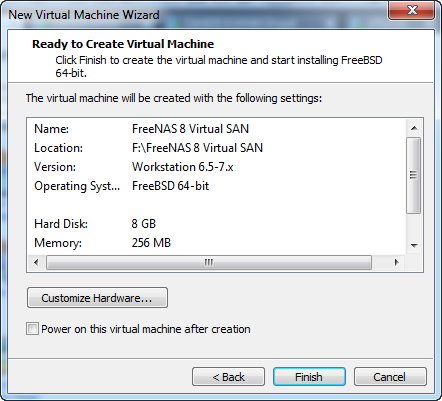
Make sure “Power on this virtual machine after creation” is NOT checked, and click “Finish”.
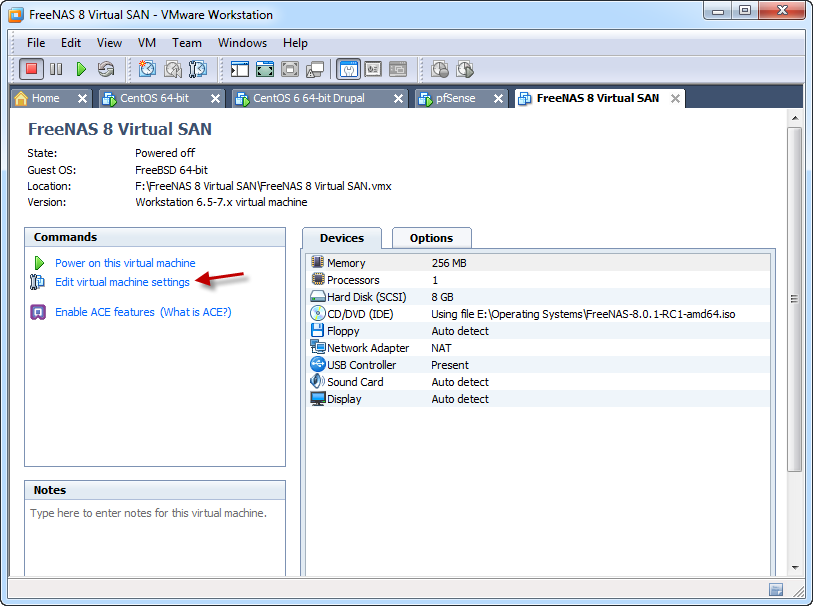
BEFORE powering on the Virtual Machine, we need to edit the hardware settings. Click the “Edit virtual machine settings” link on your FreeNAS Virtual SAN Virtual Machine, or hit “CTRL+D”.
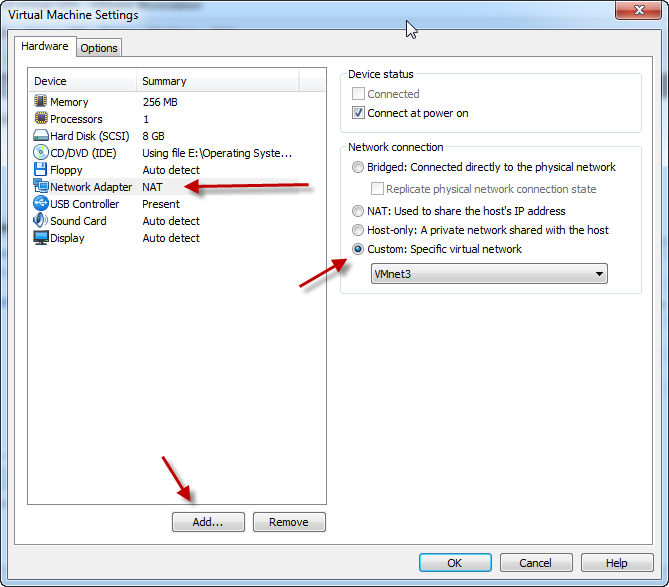
If you followed Part 1 of this series, you’ll need to select “Network Adapter”, then select “Custom: Specific virtual network”, and choose the VMNet that is bridged to the LAN side of your network. For me this is VMNet3. Otherwise you can just choose “Bridged: Connected directly to the physical network”.
After that we need to add another “Hard Disk”, click the “Add…” button.
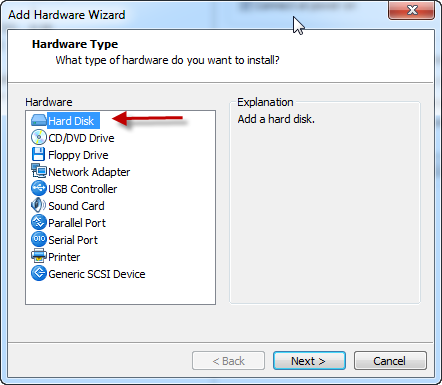
Select “Hard Disk” and click “Next”.
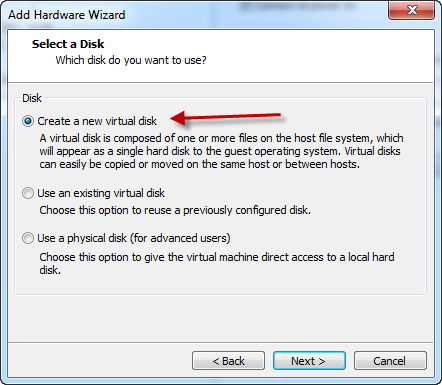
Select “Create a new virtual disk” and click “Next”.
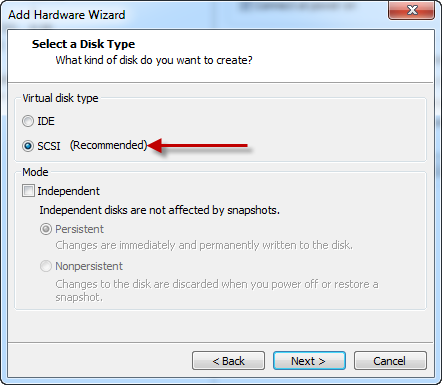
Select “SCSI” and click “Next”.
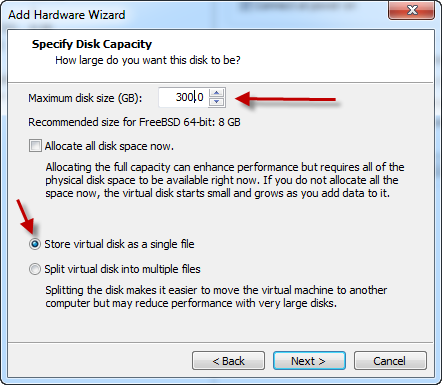
Set the “Maximum disk size (GB):” to 300, select “Store virtual disk as a single file”, and click “Next”.
Note: Originally I used ten 30GB drives to sort of mimic a physical disk array. Since the virtual drives are all stored on the same physical drive, there’s no real benefit to doing it that way. So in the interest of keeping things simple, a single 300GB drive works fine. If you were going to setup a Virtual SAN for any sort of production use, you’d want to give the VM direct access to several physical drives.
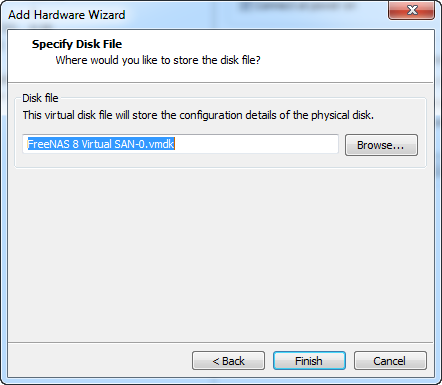
Accept the default and click “Next”.
Click “OK” on the Virtual Machine Settings page.
Your Virtual Machine is now ready to power on.
Step 2: Install FreeNAS.
Power on the Virtual Machine.

Hit 1 to start the install.
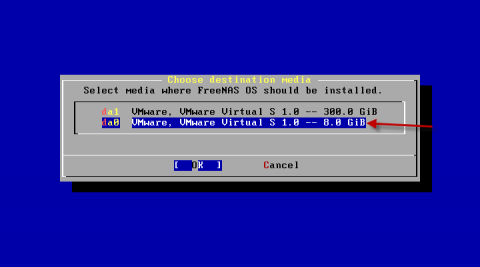
Select the 8 GB drive as the destination, then hit “Enter”.
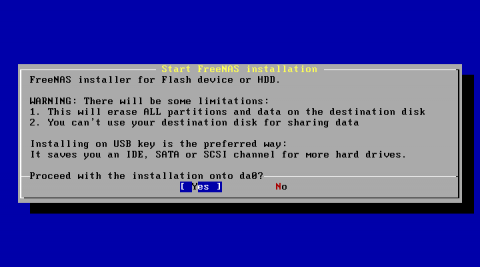
Hit “Y” to continue.
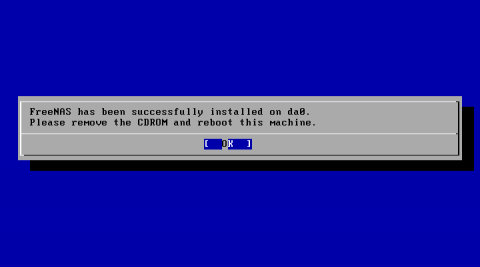
The installation completes, hit “Enter” to continue.
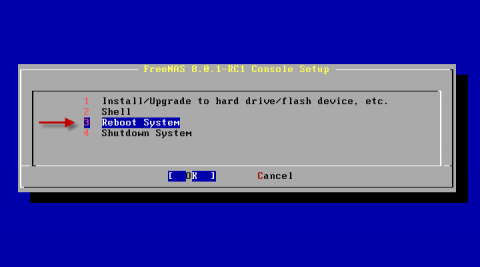
Hit 3 to Reboot.
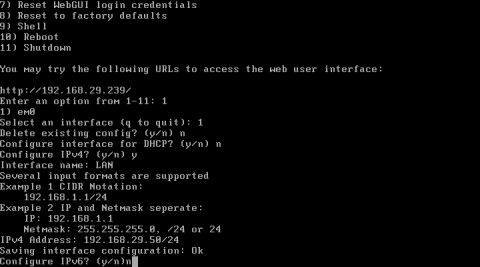
When FreeNAS boots, hit 1 to configure the network, then 1 to select the interface, n, then y, give the interface a name, enter a static IP. Hit “n” for “Configure IPv6”.
Step 3: Configure FreeNAS through the web interface.
Open a web browser and browse to the IP you assigned to your FreeNAS Virtual Machine in Step 2.
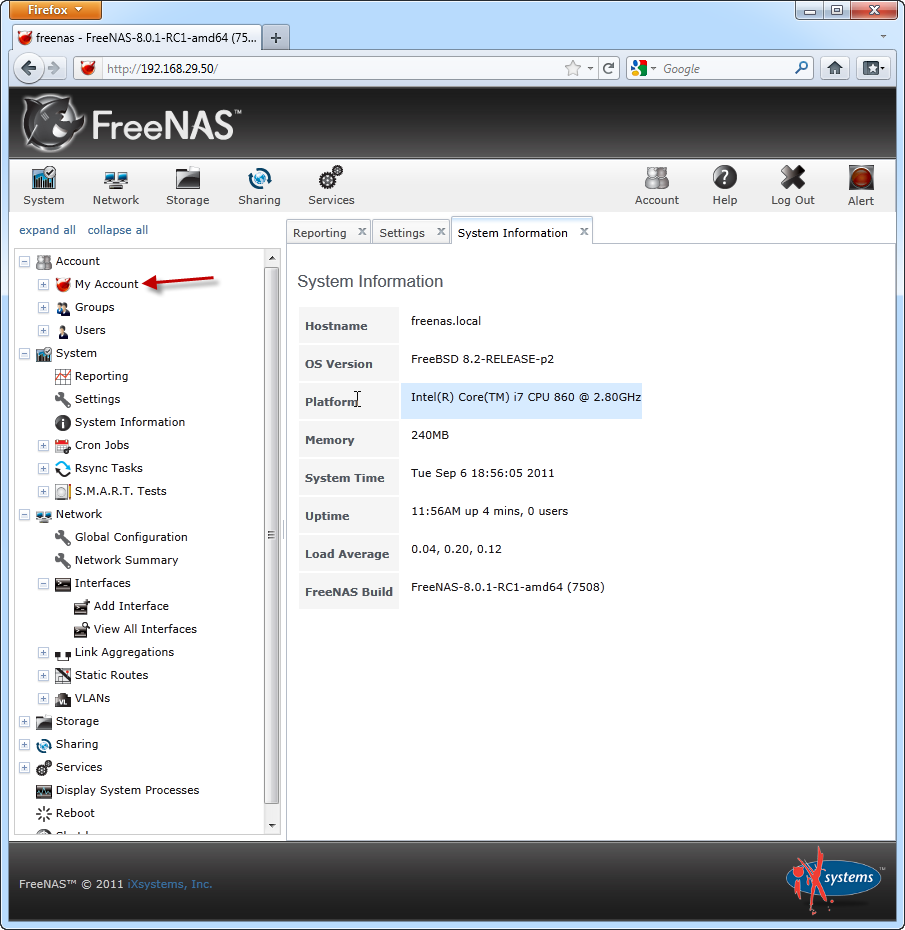
You’ll see a flashing “Alert” in the upper right corner letting you know that you need to set a password, so lets take care of that first. Expand “My Account”.
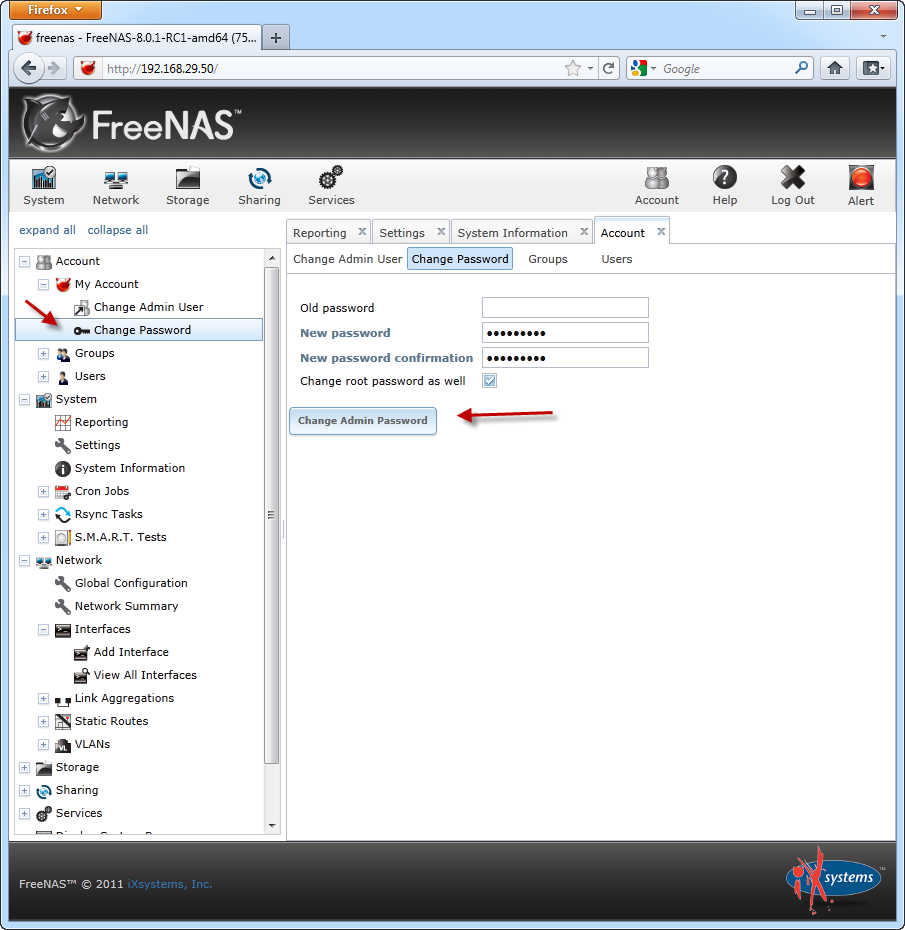
Click the “Change Password” link, set and confirm a password, then click “Change Admin Password”.
Next we need to create a volume. Click the “Storage” icon at the top of the page.

Give the volume a name, I named my “SAN1”. Check the disk, and select “ZFS” as the “Filesystem type” then click “Add Volume”.
Note: If you used multiple drives, you’d have a few more options here. Depending on the number of drives selected, different RAID types would become available. With ZFS you’d see RAID-Z and RAID-Z2. For more information on RAID-Z, check out Jeff Bonwick’s blog post over at Oracle. Jeff Bonwick is the inventor of RAID-Z. For more information on RAID-Z2, check out Adam Leventhal’s blog post over at Oracle.
Next we need to create a ZFS Volume, click on the “Create ZFS Volume” button from the Storage page.
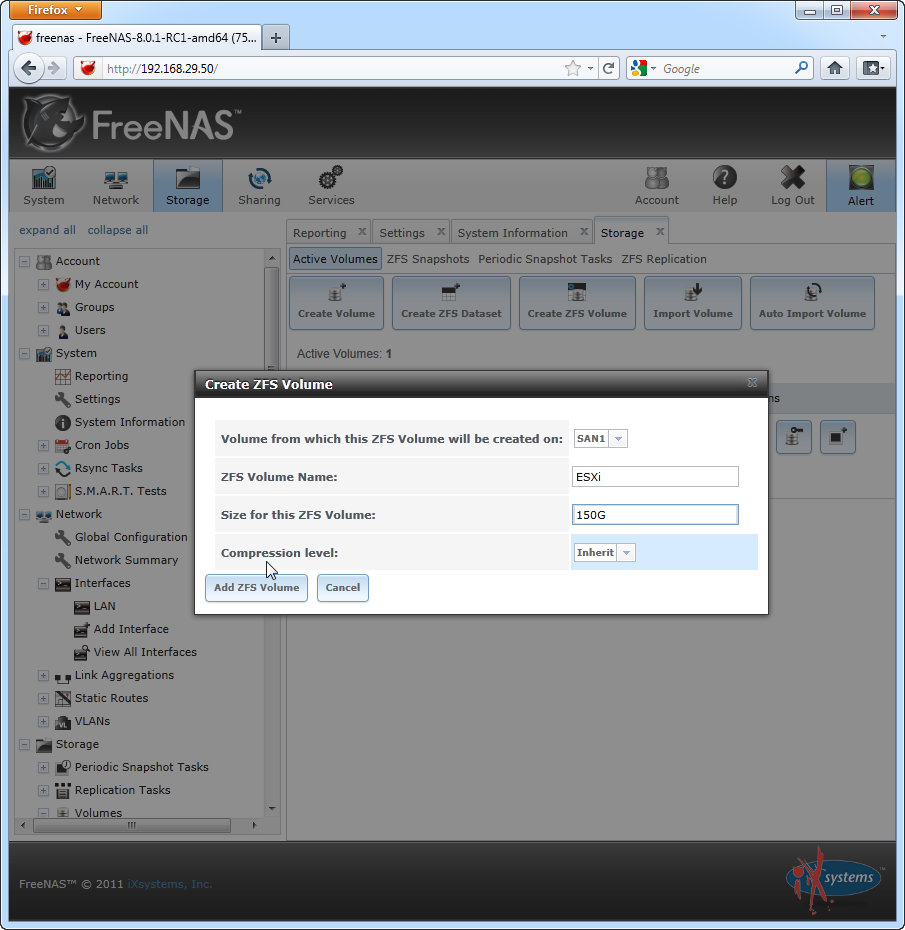
I named this volume “ESXi” since we will be using it for an iSCSI LUN to be attached to ESXi in a later lesson. We’ll make the size 150GB by putting “150G” as the size. The rest of of the space will be used in later lessons. Click “Add ZFS Volume” when you are done.
Note: ZFS is a file system with a lot of cool features that started in Solaris. Solaris, like the FreeBSD that FreeNAS is based on, is a flavor of Unix. For more information on ZFS, check out the ZFS page at opensolaris.org.
Next we need to turn the iSCSI service on.

Click the “Services” button at the top of the page, then click the switch next to “iSCSI” to turn the service on.
Now lets configure iSCSI. We’ll start by setting up Authentication, so we can have a little security for our Virtual SAN.

Expand “ISCSI” click “Target Global Configuration” then click “Authentication”, then click “Add iSCSI User”
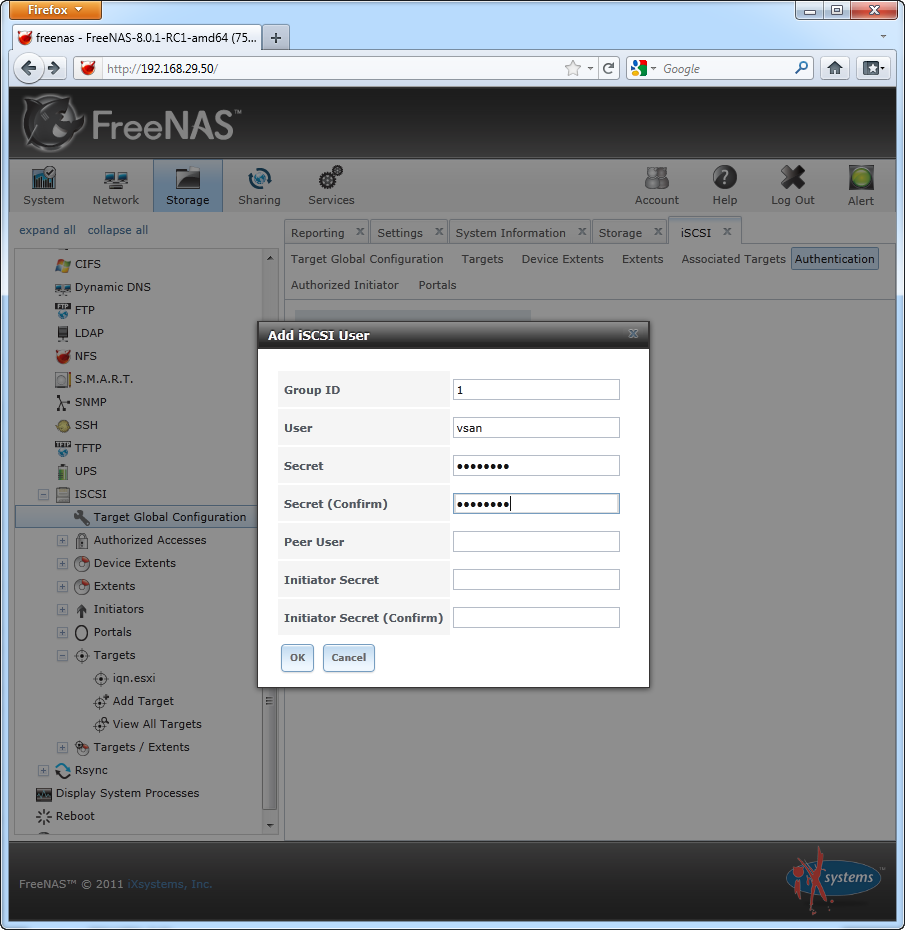
I used “vsan” as my User, you can call it whatever you want, just remember what it is. Set and confirm a “Secret”, you can leave the bottom 3 fields blank, and click “OK”.
Next we need to create a Portal.

Select “Portals”, then click “Add Portal”
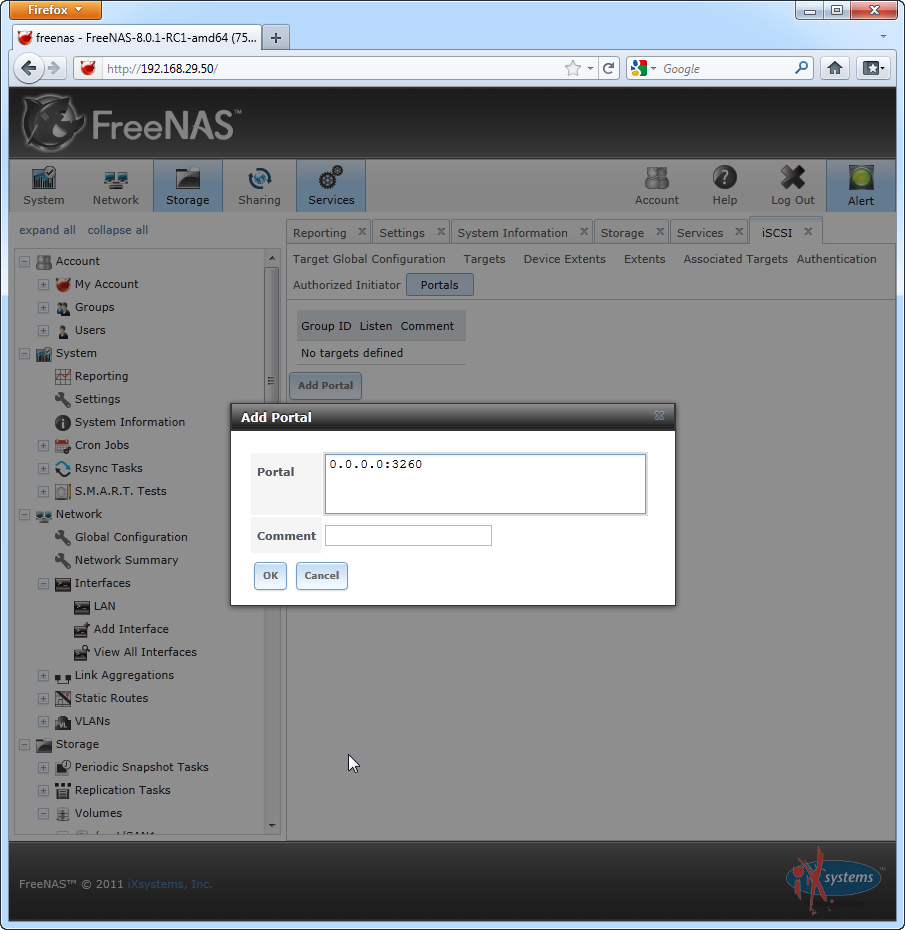
Here we can just accept the default and click OK. This means it will listen on port 3260 on all IPs for this portal.
Next we need to create a device extent.
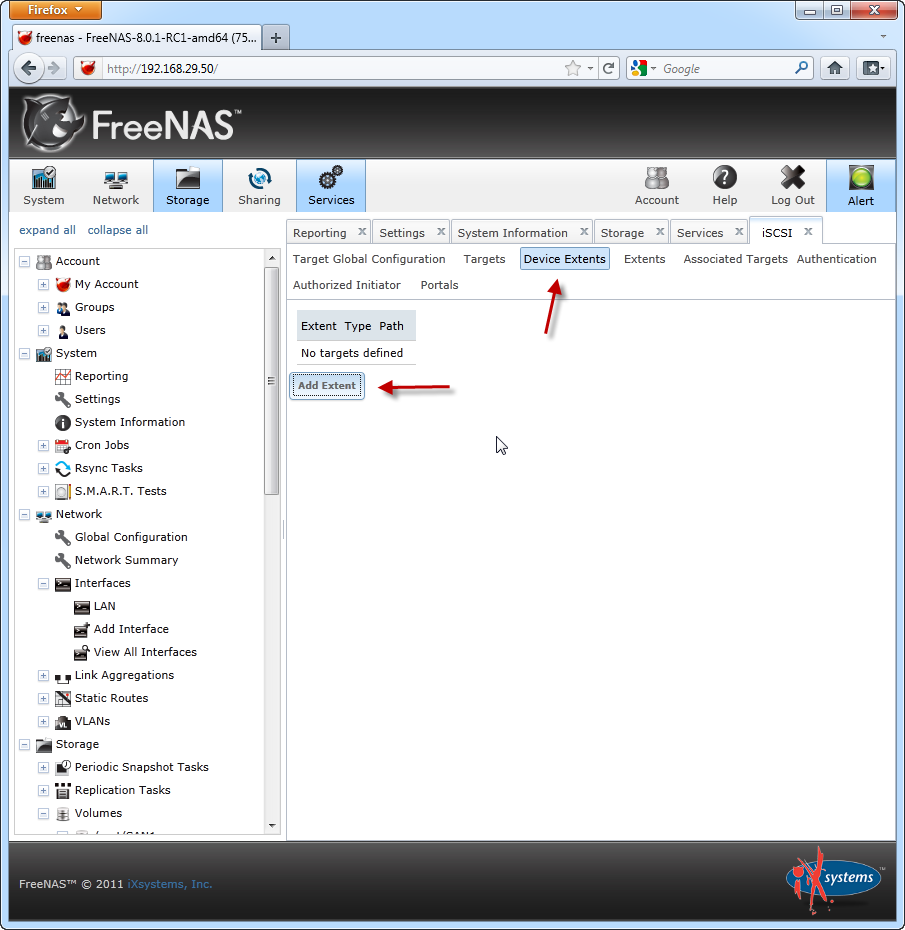
Click “Device Extents” then “Add Extent”

Give the Extent a name, I named mine “ESXi”, because we’ll be assigning this LUN to ESXi in a later lesson. Select “SAN1/ESXI (150G)” (or whatever you named your ZFS volume earlier) from the drop down for “Disk device” then click “OK”.
Now we’ll setup the Target Global Configuration.
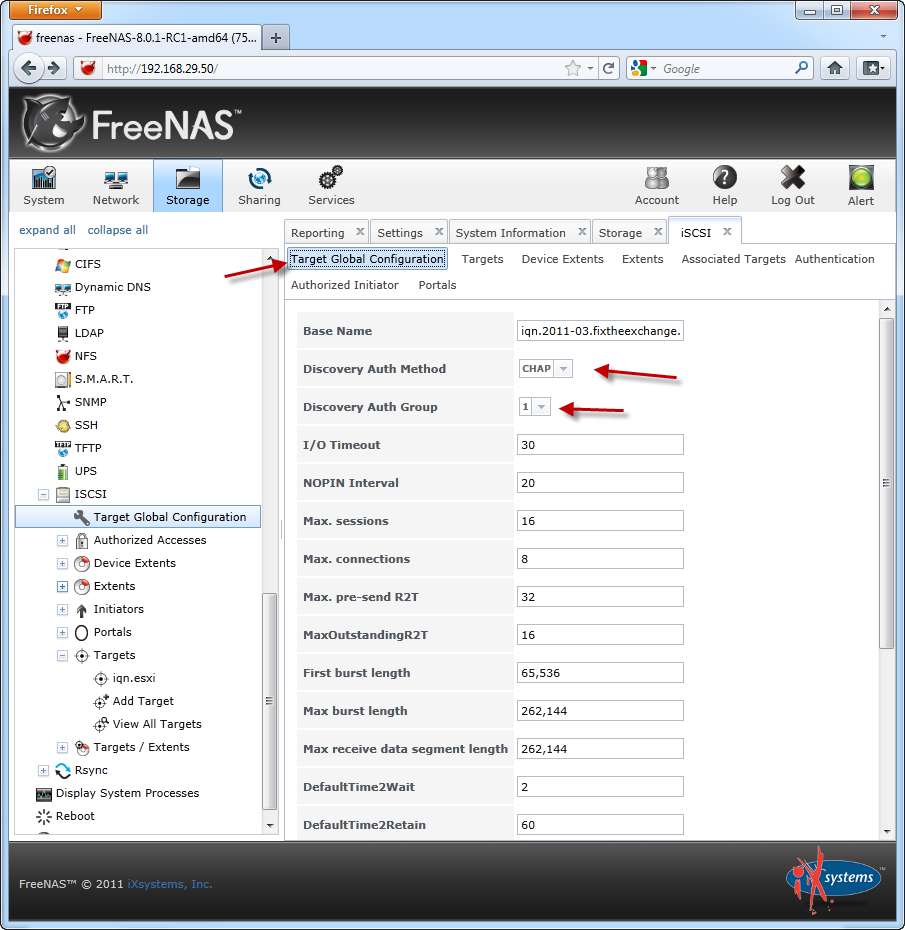
Click “Target Global Configuration”, change the base name if desired (I just changed example.org to fixtheexchange.com for mine), select “CHAP” from the drop down for the “Discovery Auth Method”, and “1” as the “Discovery Auth Group”. Everything else can be kept as-is. Click “Save”.
The last thing we need to do is add a target.

Click “Targets” then “Add Target”.

Give your target a name, and an alias. Again, I used ESXi here because that is what this LUN will be used for later on.
Select “Disk” from the drop down for “Type”.
Select “1” from the drop down for “Portal Group ID”.
Select “1” from the drop down for “Initiator Group ID”.
Select “1” from the drop down for “Authentication Group number”.
Click “OK”.
The last thing we need to do is add the Extent to the Target.

Click “Associated Targets.”
Click “Add Extent to Target”.
Select the Target you created earlier in the “Target” drop down.
Select the Extent you created earlier in the “Extent” drop down.
Click “OK”.
That’s it! Your Virtual SAN has been configured. We now have an iSCSI LUN that we will use with ESXi in a later lesson. In Part 3 of the “Budget Laboratory” series, we’ll be installing VMware ESXi 4.1 inside of VMware Workstation 7.
Cybersecurity Product Leader and internationally recognized Speaker at several Information Security conferences and events with over 26 years of experience as a proven leader in Cybersecurity, Product Management, Threat Hunting, Incident Response, IT Management, IT Architecture, IT Operations, IT Engineering, and Messaging Systems, on a global scale, across a diverse set of industries in both the Public and Private sectors.