For this installment of my “Budget Laboratory” series, I’ll show you how to install VMWare ESXi 4.1 on VMWare Workstation 7. Yes, we’ll be running Virtual Machines (VMs) inside of a VM! Why would anyone want to do such a thing? To learn ESXi and vSphere of course! If you don’t have spare hardware for a dedicated ESXi lab environment, running it inside of Workstation 7 is a great alternative. You could also run it inside of VMWare Player if you feel so inclined. However, as with the first 2 articles in this series, I’ll be using Workstation 7. ESXi and Player are both completely free, Workstation has a 30 day free trial available.
While there are other options when it comes to virtualization, VMWare has dominated the market for quite some time. When you say “Virtualization”, VMWare is what most people think of first. It is a great product to start with if you’re just getting into virtualization.
There are some limitations when running ESXi inside of Workstation. ESXi will only be able to run 32-bit guest Operating Systems (O/S’s). Workstation must be 64-bit and running on a 64-bit host O/S in order for ESXi 4.1 to install. (UPDATE: Workstation 8 has a new feature that allows ESXi to run 64-bit guest O/S’s, click here to read about it.)
I recommend a quad core CPU and at least 8GB of RAM for this, however you may be able to get away with less.
- You will need:
- A computer running a 64-bit Operating System.
- VMWare Workstation 7 (UPDATE: Workstation 8 is out, these instructions will work with Workstation 8 too.)
- VMWare ESXi 4.1
Why ESXi 4.1? Well 5.0 is still pretty new, so you’ll find 4.1 still being used in a lot of places. VMWare made some changes to the licensing with 5.0 that really restrict the free version. I feel that 4.1 is a better option when running the free version right now. That being said, I will probably do another version of this article for 5.0 later on.
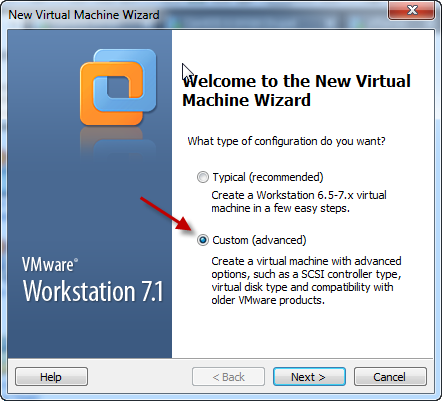
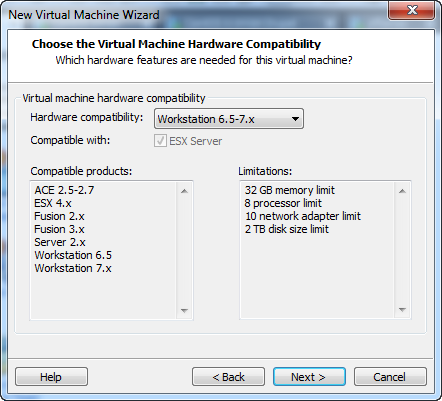
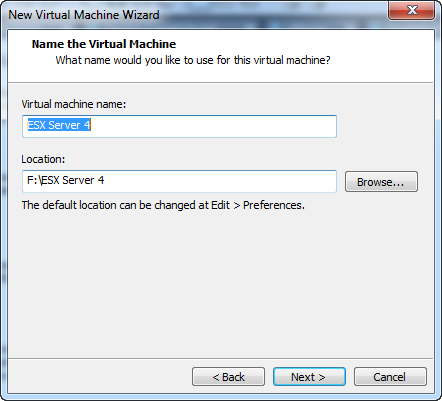
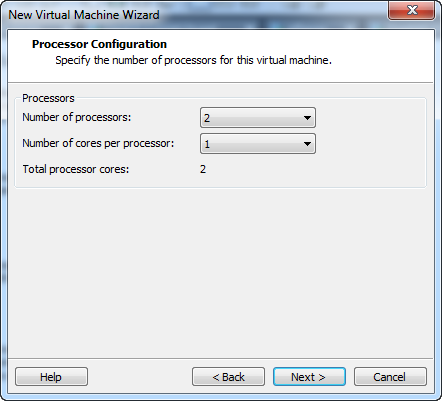
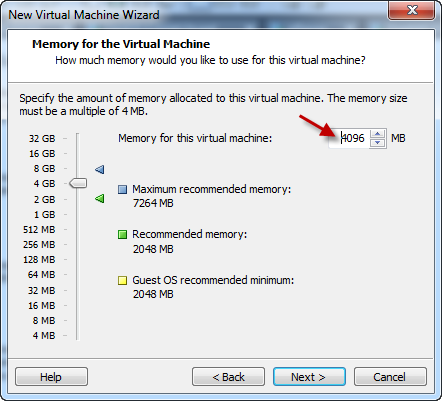
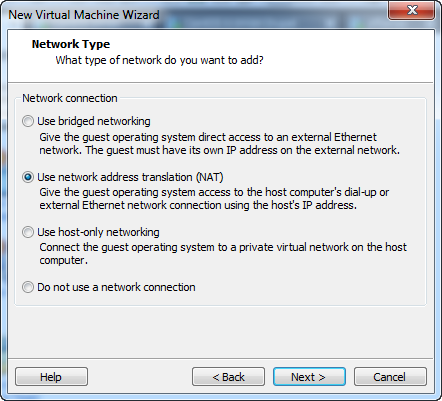
Step 1: Create a Virtual Machine for ESXi

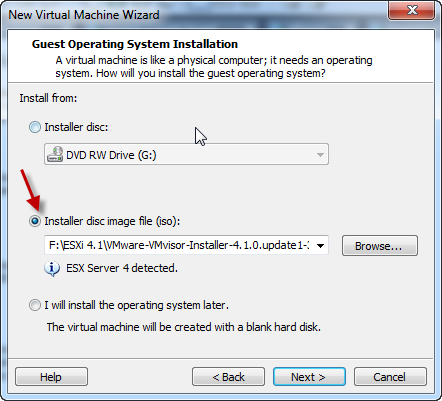
You’ll notice that VMWare Workstation automatically detects that we’re going to install “ESX Server 4”.
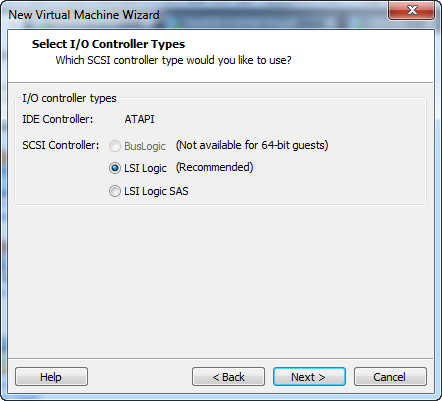

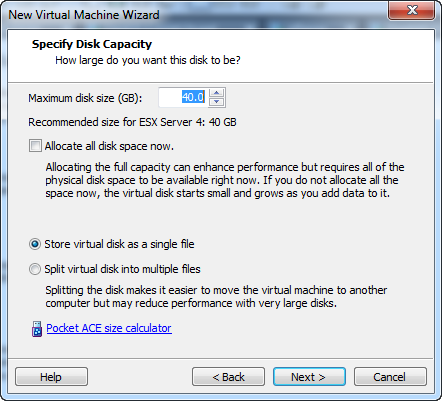
I missed a screen shot for the “Specify Disk File” screen, you can just accept the default on this screen and click “Next”.
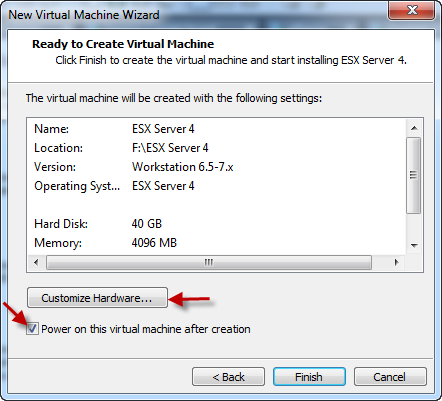
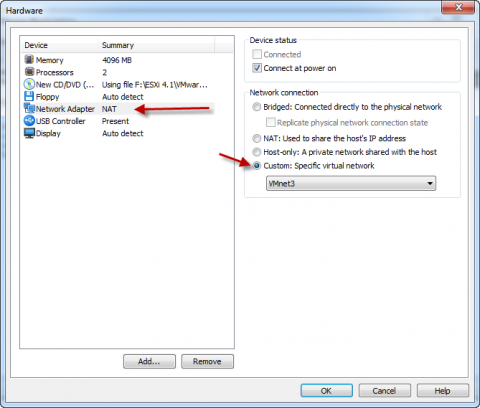
Click “OK” to exit the Hardware configuration, then click “Finish”, your ESXi VM should now boot.
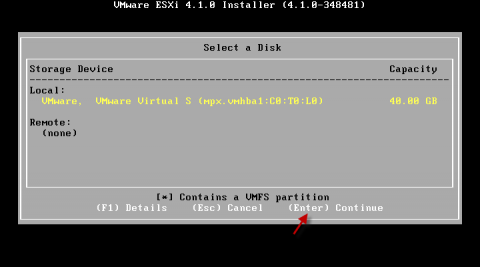
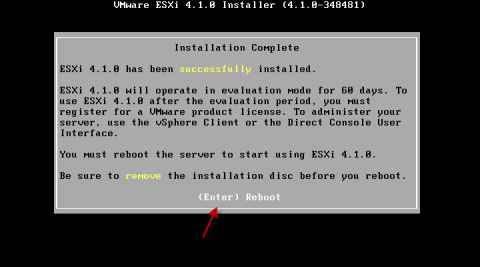
Step 2: Install ESXi 4.1
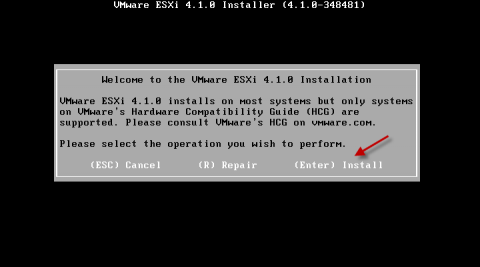
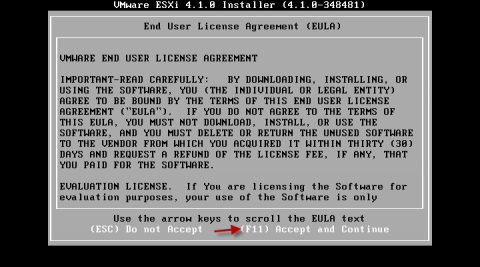
Hit “F11” to accept the EULA.

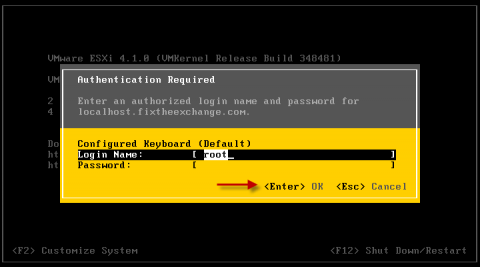
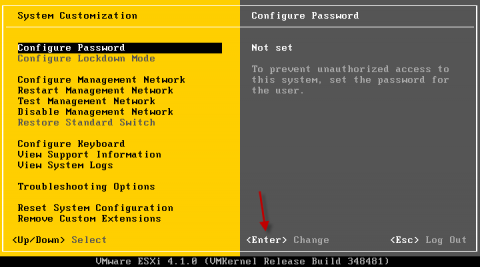
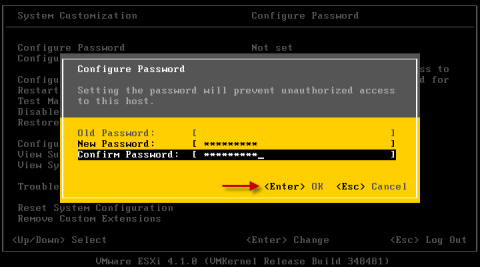
Step 3: Configure ESXi 4.1
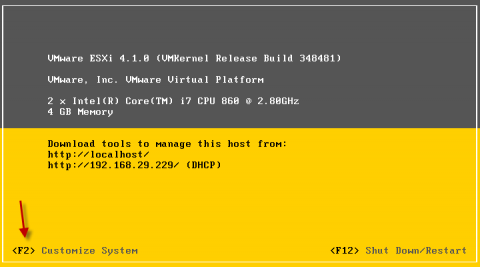
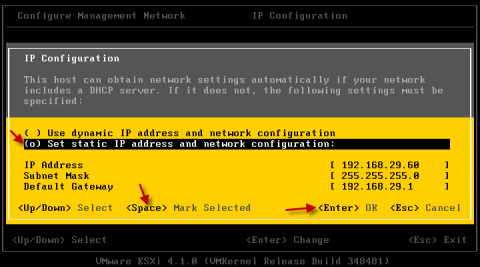
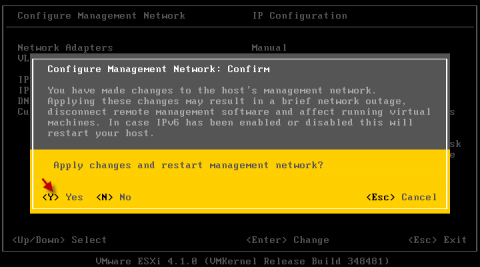
Now we need to set a static IP.
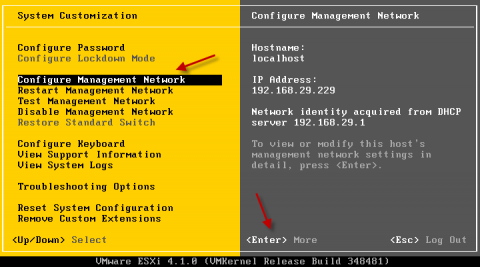
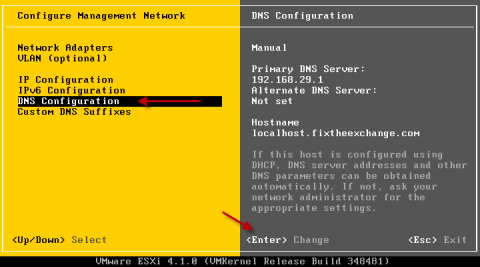
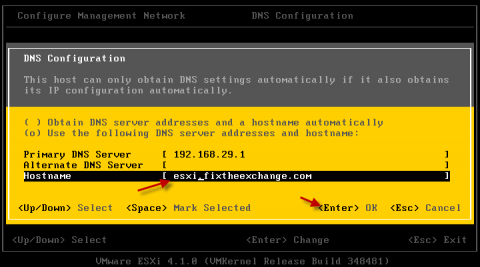
Next we’ll change the hostname.
Step 4: Verify connectivity and download vSphere Client.
If you configured the network properly in Step 3, you should be able to open a web browser, and browse to the IP you assigned your ESXi server. A page that looks like this should come up:

ESXi is now ready for use!
In Part 4 of the “Budget Laboratory” series, I’ll show you how to use the vSphere client to connect ESXi to the Virtual SAN we created in Part 2 of the series.

Josh M. Bryant is currently a Director of Technical Product Management at Tanium where he builds products that help customers overcome the challenges of managing very large scale computing environments. Prior to joining Tanium, he was a Premier Field Engineer at Microsoft specializing in Microsoft Exchange Server, and then later a Cybersecurity Architect specializing in Compromise Recovery.