Today I'm going to show you how to install the Windows 8 Developer Preview on VMware Workstation 8. The Windows 8 Developer Preview was just released last night (09/13/2011), and VMware Workstation 8 was just released today (09/14/2011).
UPDATE: If you came here because the Windows 8 Consumer Preview was released today (02/29/2012), this guide is good for this new release too! There are a few cosmetic changes to the install, but everything is essentially the same.
You will need:
- VMware Workstation 8 (30-day Free Trial available, $99 to upgrade from version 7, $199 to buy new)*.
- Windows 8 Developer Preview UPDATE: Or Windows 8 Consumer Preview (Free download!)**
*This will NOT work on Workstation 7, if you haven't already, you need to upgrade before continuing. If you don't want to upgrade, the Windows 8 Developer Preview will install on VirtualBox 4.1.2, which is free.
**I used the top download, Windows Developer Preview with developer tools English, 64-bit (x64).
Step 1: Create the Virtual Machine
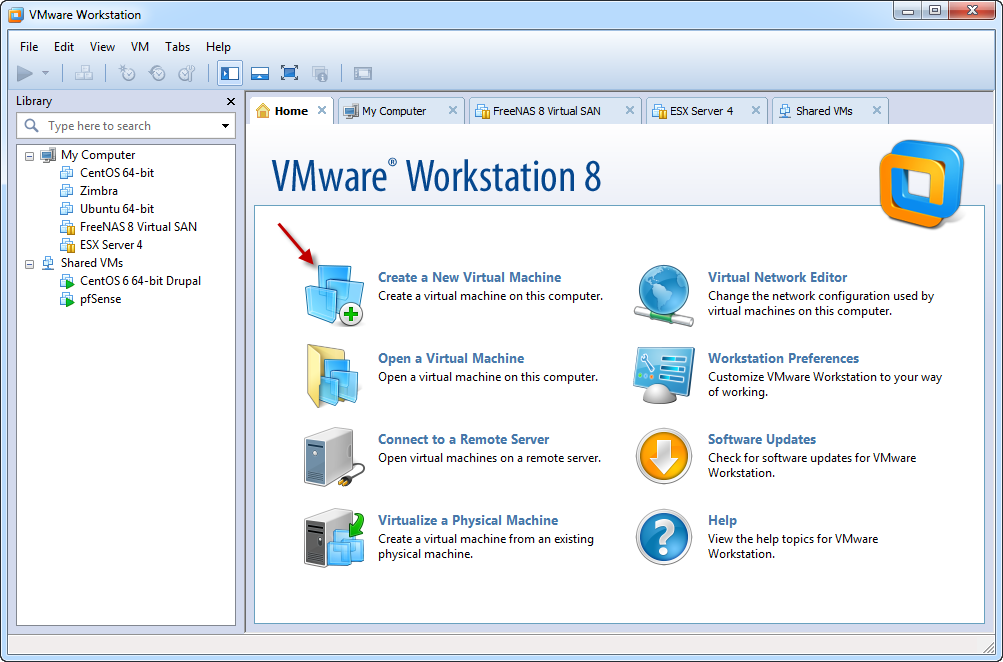
From the VMWare Workstation 8 home screen, click "Create a new Virtual Machine" or hit "CTRL+N".
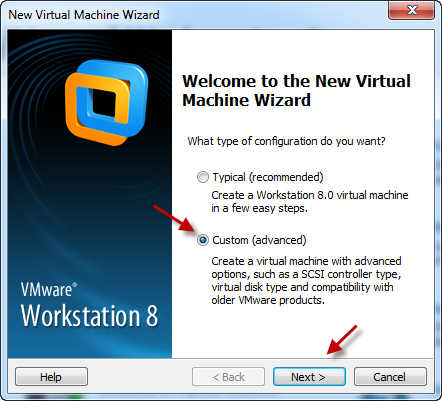
Select "Custom (advanced)" then click "Next".
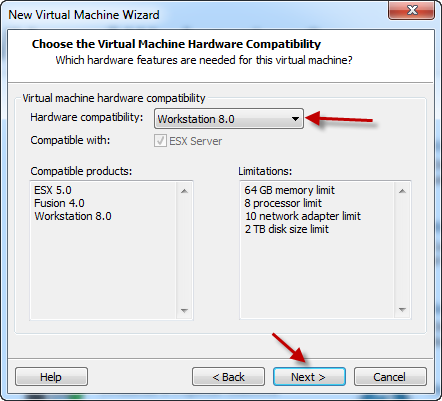
Select "Workstation 8.0" then click "Next"

Browse to the location you saved the Windows 8 Developer Preview .iso file, select it, and click "Next".
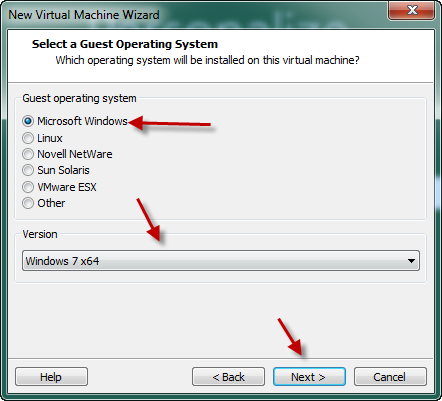
Select "Microsoft Windows" then select "Windows 7 x64" in the "Version" drop down box, and click "Next".
Note: If you're trying to install the 32bit version, just select "Windows 7". The Windows 8 Developer Preview isn't even a Beta version yet, so don't expect to see it in this list anytime soon.
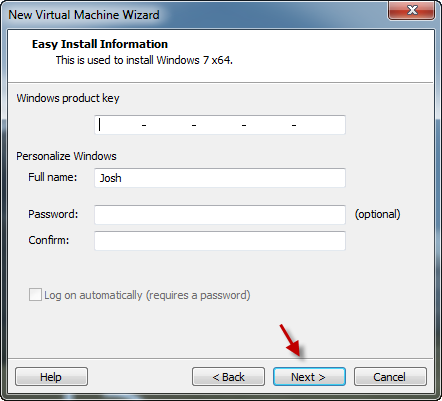
There's no key, and we won't be using the "Easy Install" feature, so just click "Next", we'll turn the "Easy Install" off later.
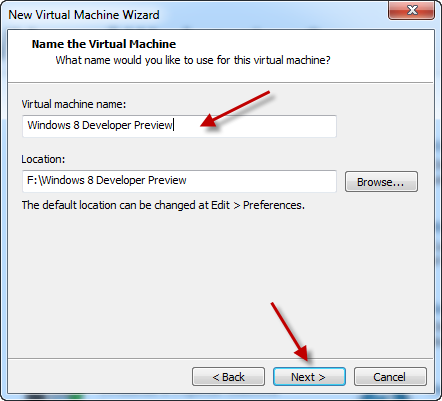
Give your VM a name, and click "Next".
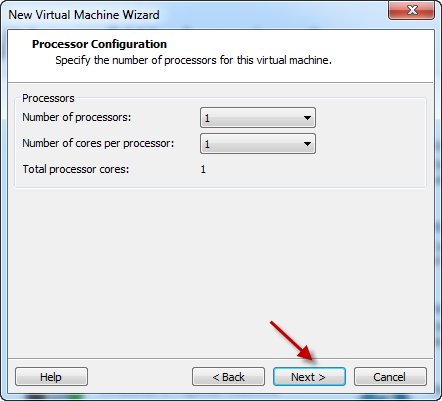
1 CPU and 1 Core are fine, you can give it more if desired. Click "Next".
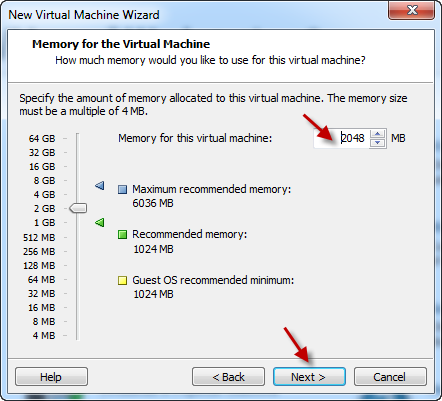
2 GB of RAM is recommended for 64bit, if you're installing 32bit, use 1GB. Click "Next".

Choose a network type, I like to use "Bridged", and click "Next".
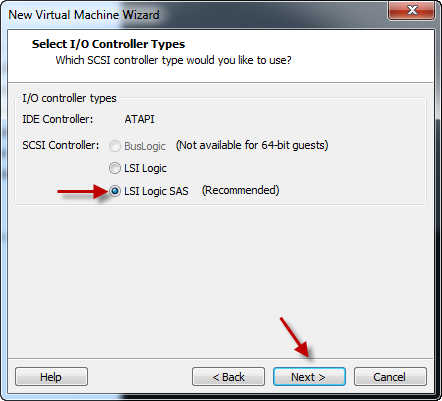
Select "LSI Logic SAS" and click "Next".
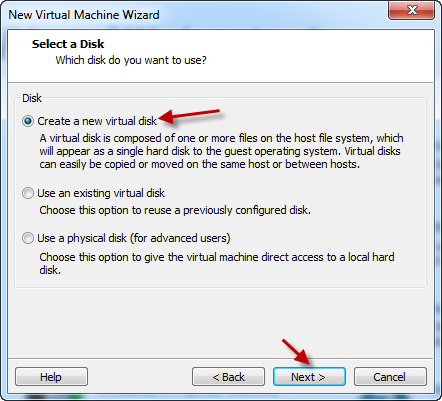
Select "Create a new virtual disk" and click "Next"
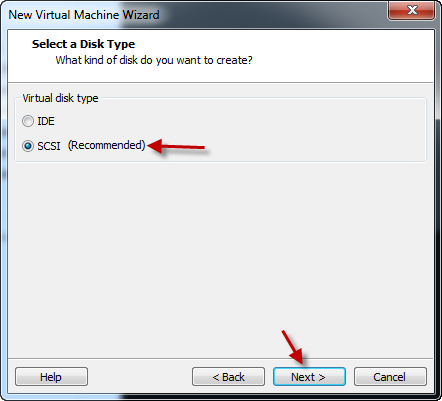
Select "SCSI" and click "Next"
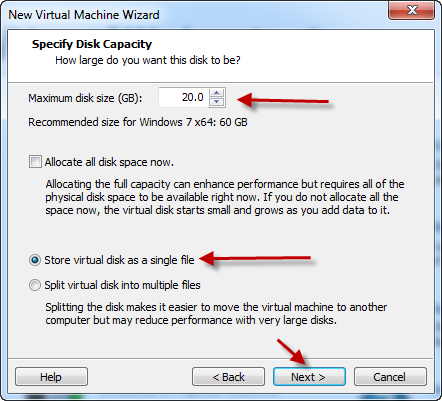
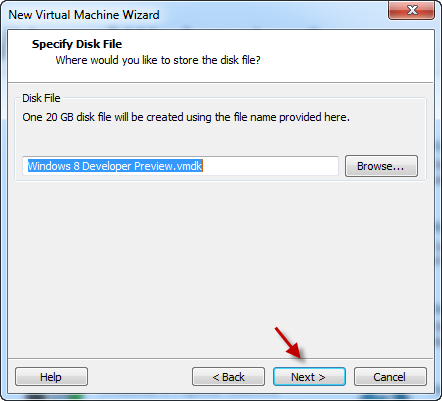
The recommended minimum is 20GB, specify a size, select "Store virtual disk as a single file" and click "Next".
Accept the default and click "Next".

Uncheck "Power on this virtual machine after creation", and click "Finish".
Step 2: Remove the Floppy from the VM.
Edit the VM Settings for the VM you just created.
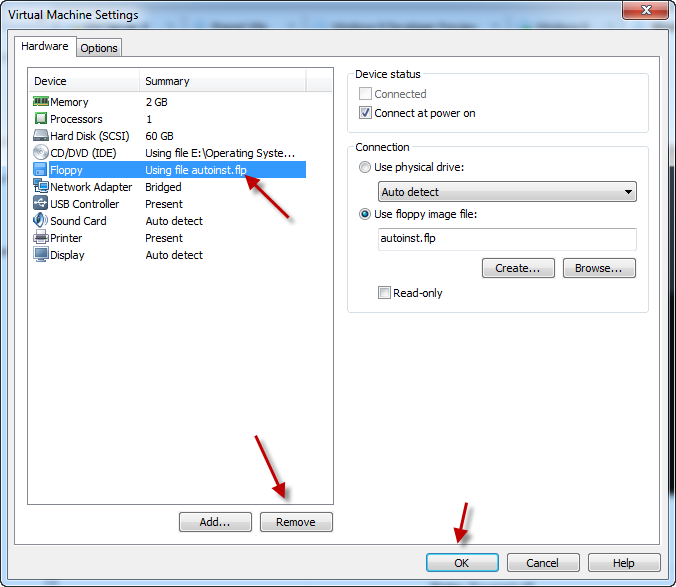
Select "Floppy" then click "Remove".
Note: If you do not do this, the installation will fail.
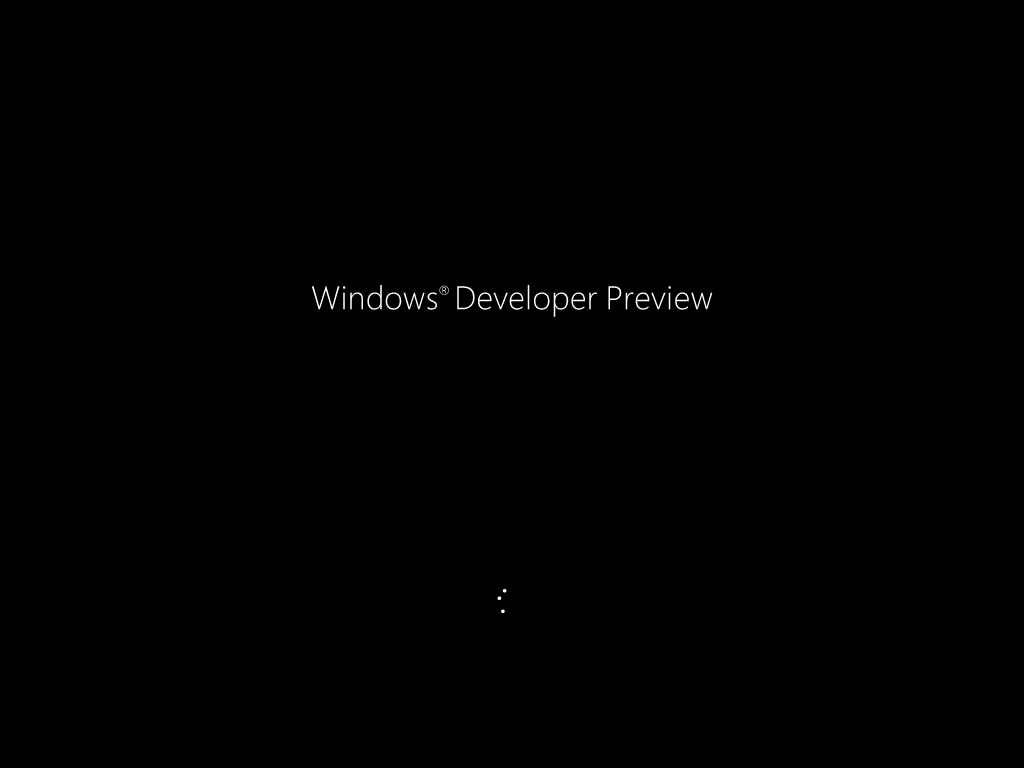
Step 3: Power on the VM and install Windows 8 Developer Preview.
Install boot screen:

Select your language and click "Next".
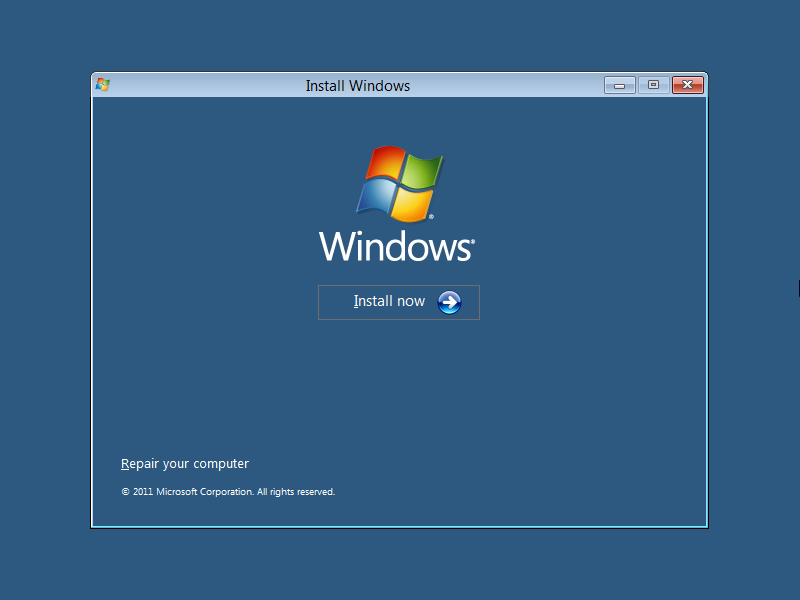
Click "Install now".
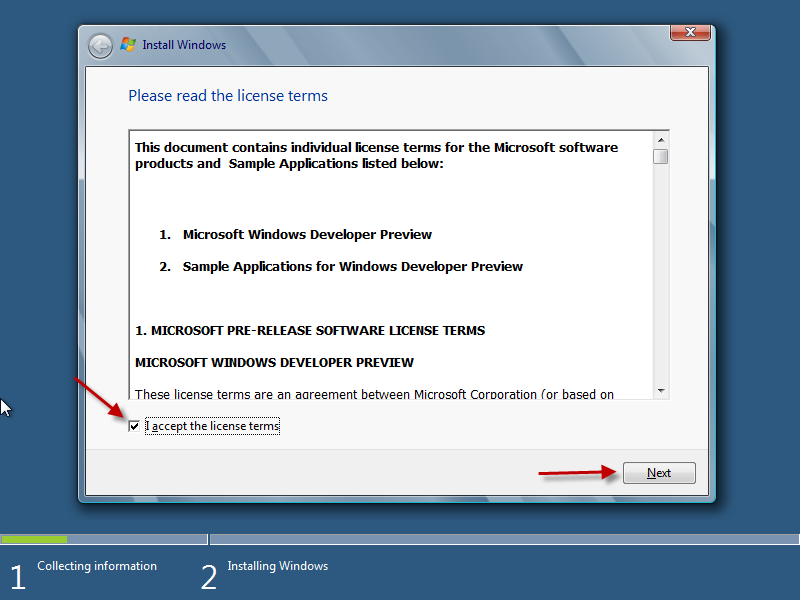
Check the "I accept the license terms" box and click "Next".
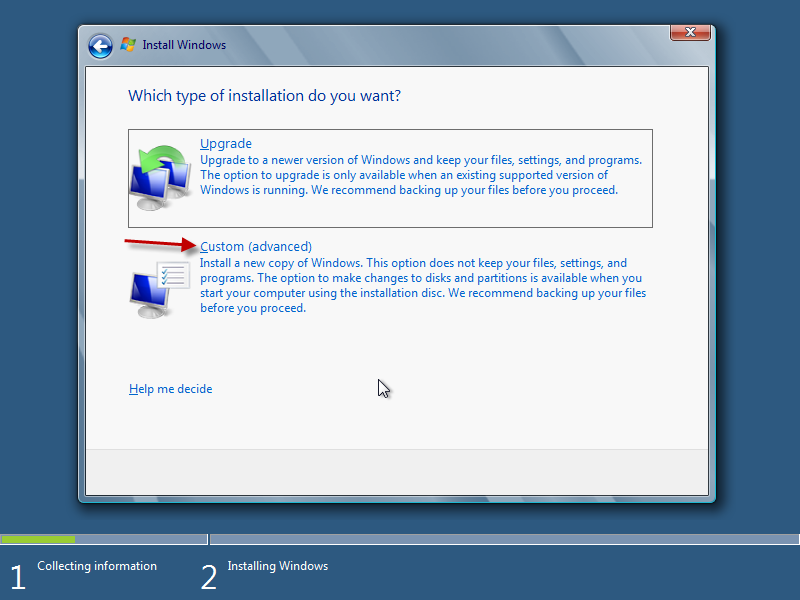
Click "Custom (advanced)".
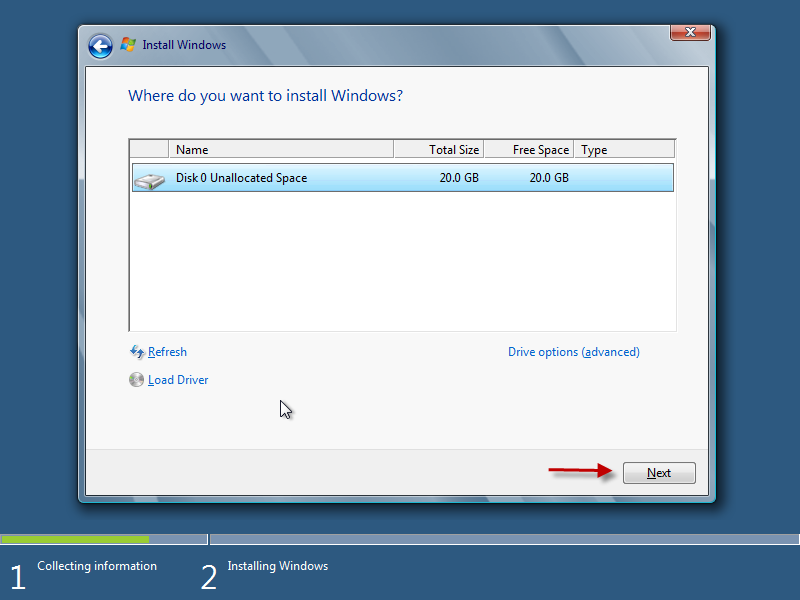
Select the disk and click "Next"
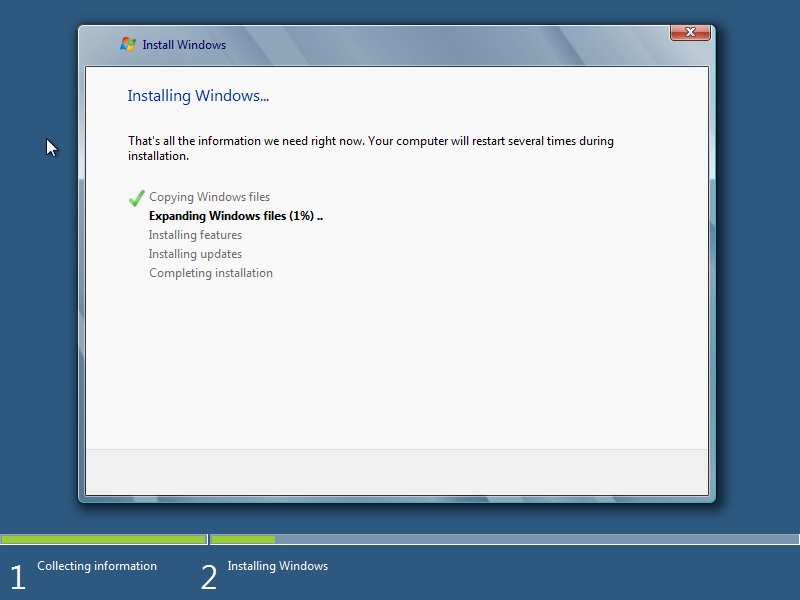
This screen takes approximately 10 minutes to complete.
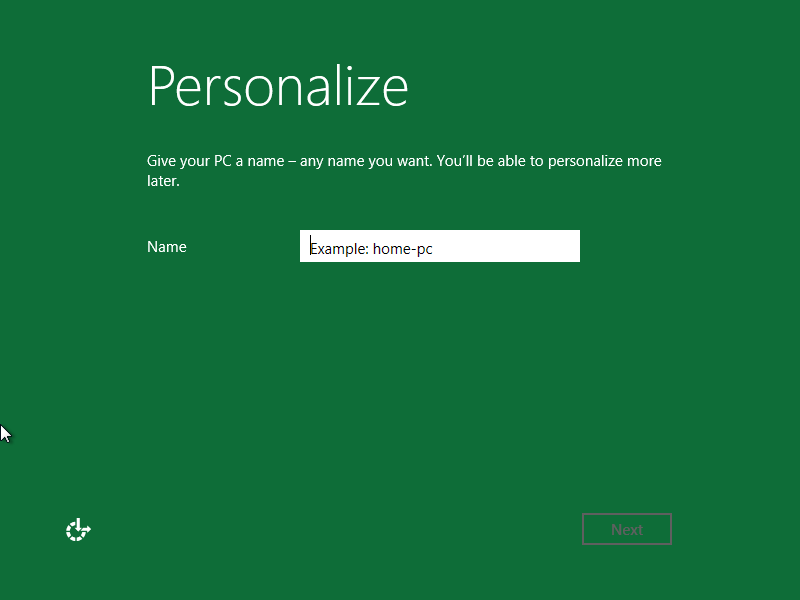
Give your PC a name and click "Next"
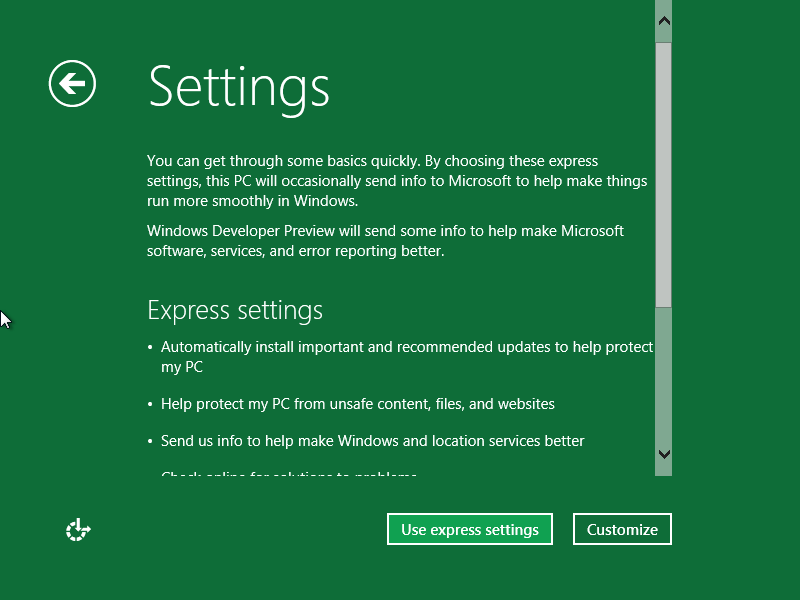
I used the express settings.
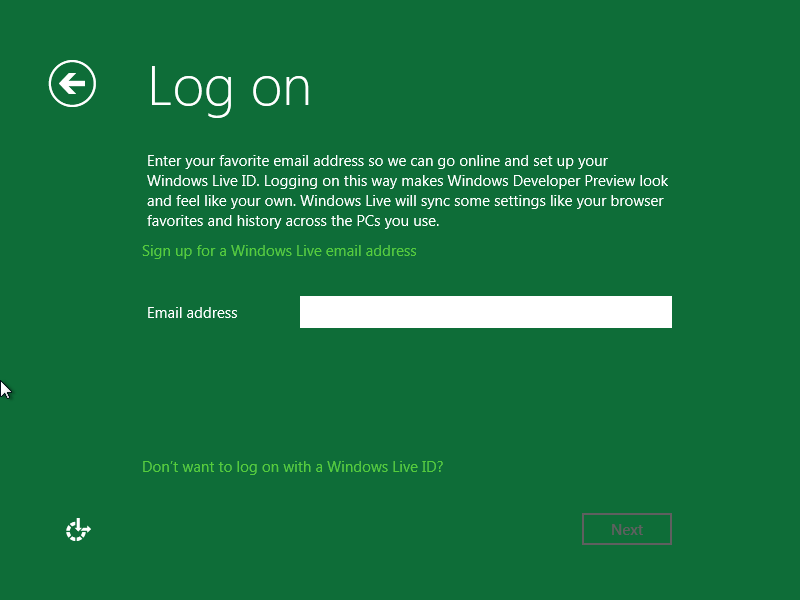
You can logon with your "Windows Live ID" if desired. If you don't want to, or don't have one, click "Don't want to log on with a Windows Live ID?".
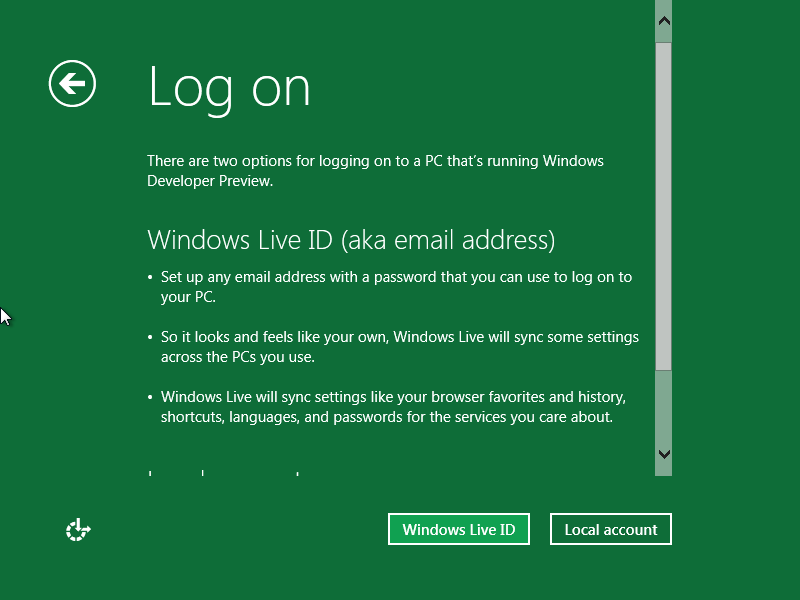
If you're not going to use a "Windows Live ID" Click "Local account".

Create a user name and password, then click "Next"
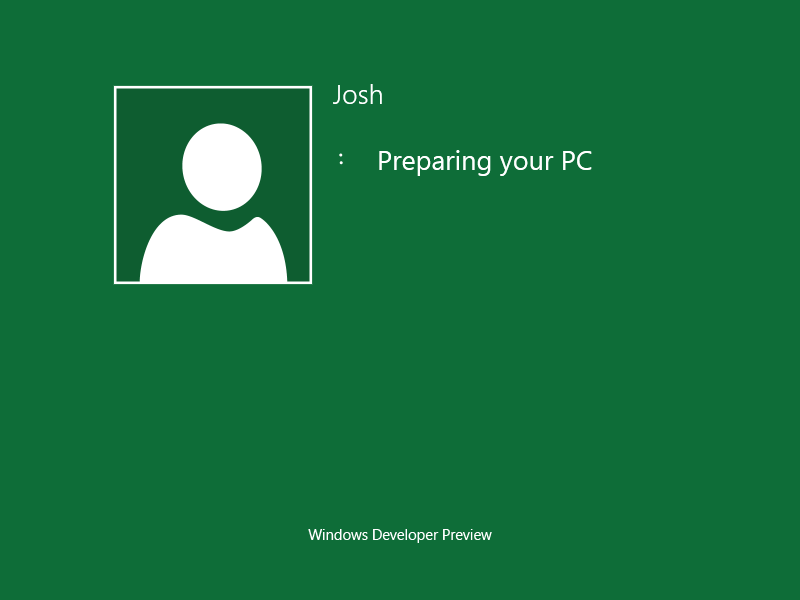
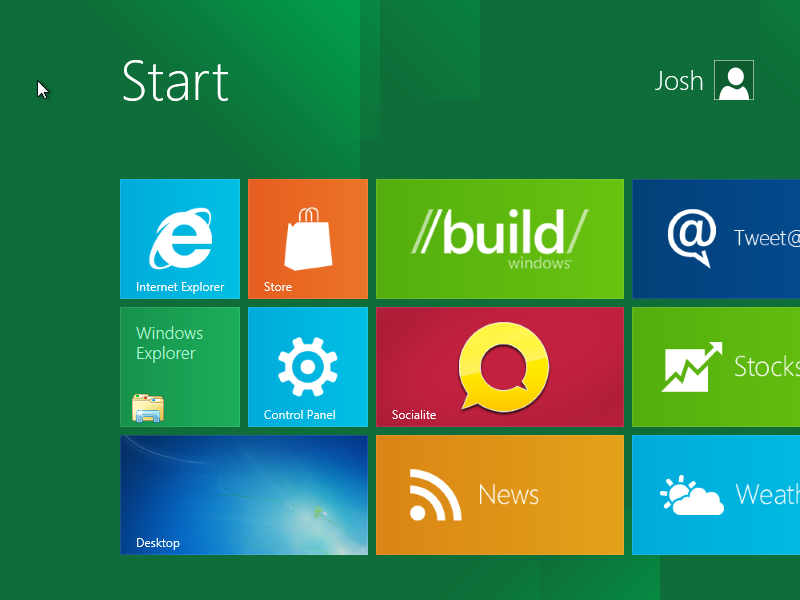
That's it! Now you can play around with Windows 8 without worrying about breaking anything. You'll probably want to install the VMware Tools, click the "Desktop" square before telling Workstation 8 to install the tools. If you get an error message about the "Easy Install", power the VM off, edit the settings, and remove the Floppy drive. Sometimes it adds itself back in there after the install, even though we removed it beforehand.

Josh M. Bryant is currently a Director of Technical Product Management at Tanium where he builds products that help customers overcome the challenges of managing very large scale computing environments. Prior to joining Tanium, he was a Premier Field Engineer at Microsoft specializing in Microsoft Exchange Server, and then later a Cybersecurity Architect specializing in Compromise Recovery.