

Installing FreeNAS to a USB key is the preferred method when setting up a FreeNAS system. The installer even makes a point of telling you this. Booting from a USB key is becoming quite popular. In fact, many modern servers come with an internal USB port, designed specifically for plugging a USB key containing an operating system into it. This allows you to design a FreeNAS based storage system around a chassis with more hard drive bays for maximum storage.
There are several ways to go about installing FreeNAS to a USB key, some of them can seem quite complicated, especially if you’ve never done it before. Others may only work on one Operating System, or another, and some may require hardware you don’t have handy. I’m going to show you and easy method that is platform independent (i.e. works on Windows, Linux, or MAC). You don’t even need an optical drive to do it!
You will need:
- A system running VMware Player (FREE, runs on Windows or Linux), VMware Workstation (Free trial available, runs on Windows or Linux), or VMware Fusion (Free trial available, runs on MAC).*
- The latest FreeNAS 8 .iso image.**
- A USB key that is at least 2 GB in size.***
*I’m using VMware Workstation 8 for this tutorial. The steps are pretty much the same on earlier versions of Workstation, as well as on Player and Fusion.
**Make sure you have the right image for the hardware you’ll be using the USB key on.
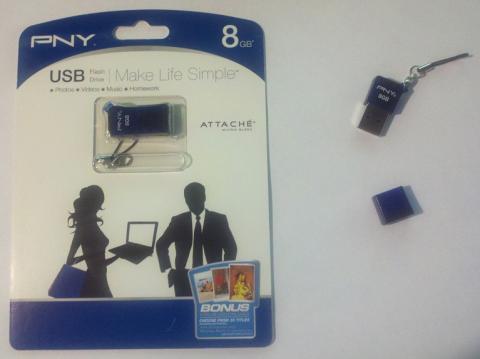
***8 GB is the smallest size of USB key that a lot of places carry these days. I found these great little PNY Attache Micro Sleek 8 GB USB keys at Best Buy for $12 each. Most USB keys of this size are in the $9 to $15 range. I like these because of their compact size.
Step 1: Setup a Virtual Machine for the install.
Open Workstation, Player, or Fusion, and start the “New Virtual Machine WIzard” (hit “CTRL+N” from the home screen).

Click “Next”.
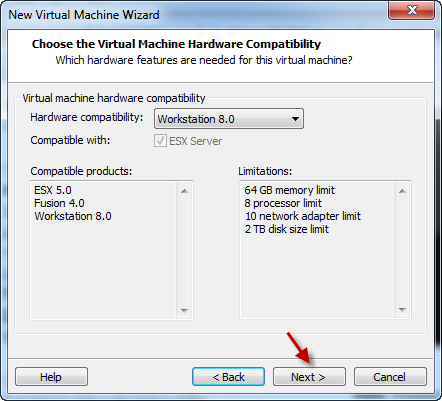
The hardware compatibility level really isn’t important for what we’re doing, so accepting the default is fine here, click “Next”.
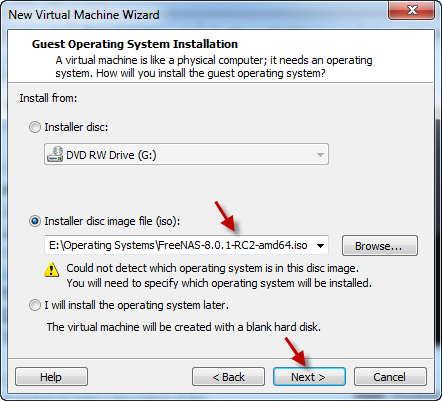
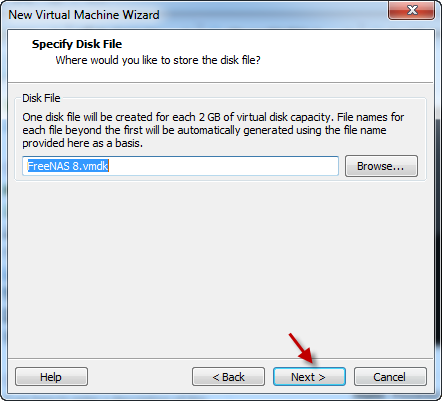
Browse to and select the .iso for your FreeNAS installer, then click “Next”.
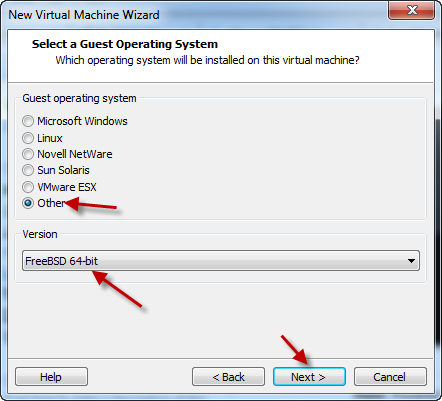
Select “Other” and either “FreeBSD” if you’ll be installing 32-Bit FreeNAS 8, or “FreeBSD 64-Bit” if you’ll be installing FreeNAS 8 64-bit, then click “Next”.
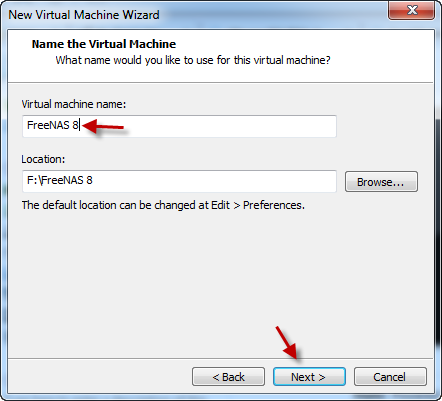
Give the VM a name, and click “Next”.
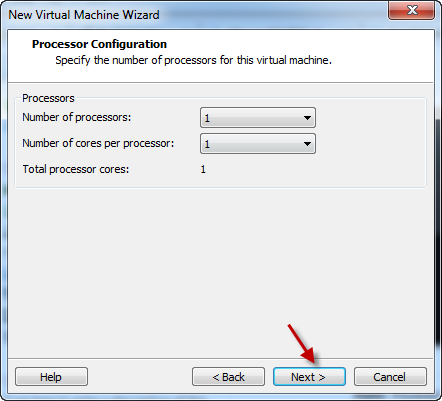
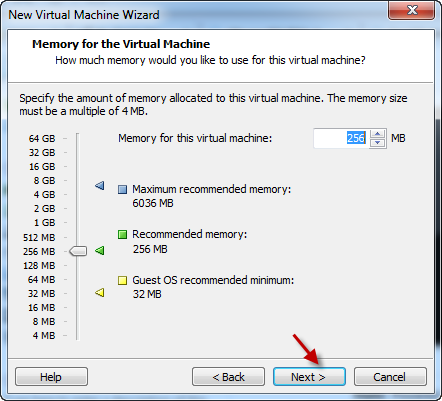
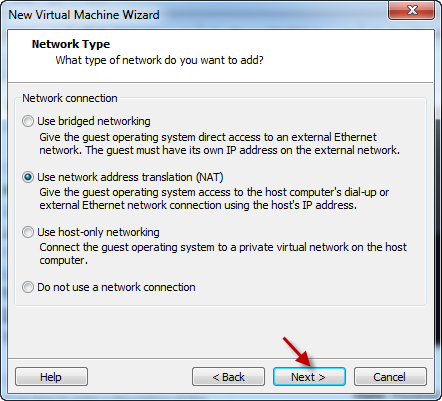
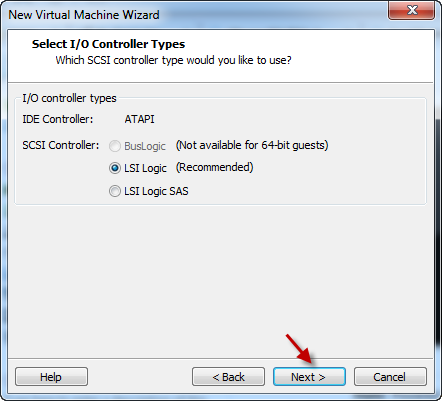
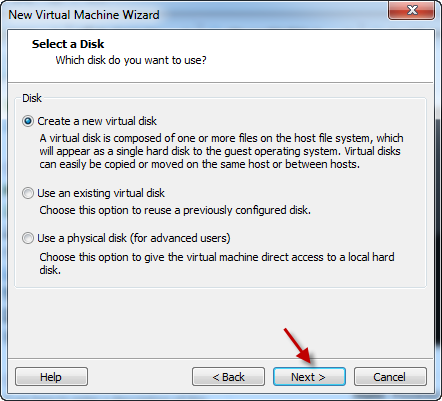
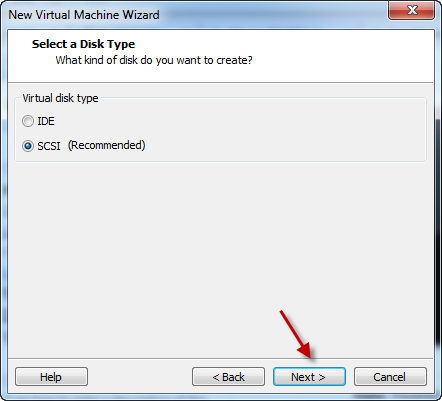
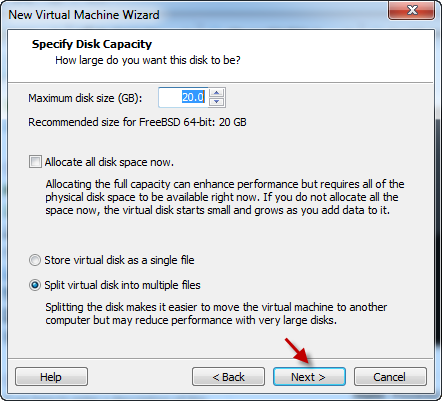
These next 8 screens really aren’t important for what we’re doing, we’ll be removing most of what they create in the next step, so just accept the defaults and click “Next” on each one.
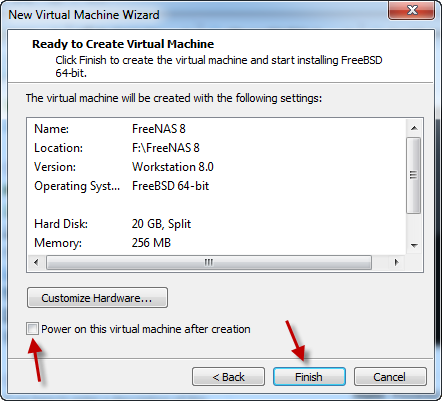
Make sure that “Power on this virtual machine after creation” is NOT checked and click “Finish”.
Step 2: Remove hardware from Virtual Machine.
We want it to detect the hardware on physical machine we’ll be using the USB key on, so lets remove as much of the virtual hardware as possible to avoid any issues.
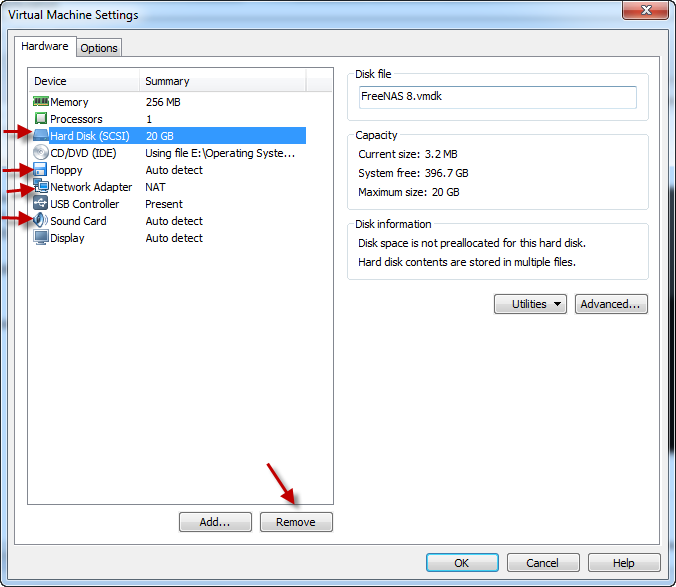
Remove the Hard Disk, Floppy, Network Adapter, and Sound card.
After you’ve removed everything it should look like the screen shot above, click “Ok”.
Step 3: Install FreeNAS 8.
Now we can power on the VM.
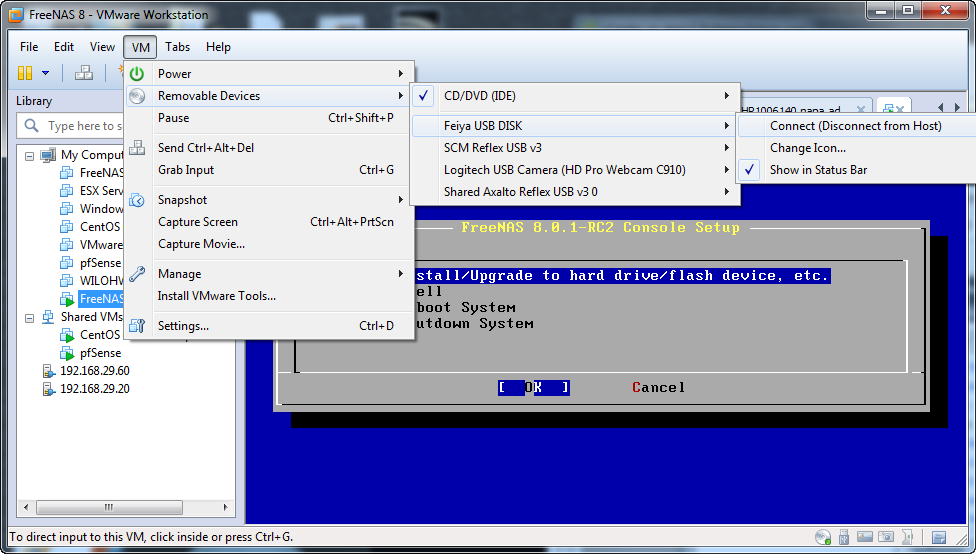
When the VM powers up, you’ll need to connect the USB key to it. The PNY USB Key I’m using shows up as a “Freiya Removable Disk”.
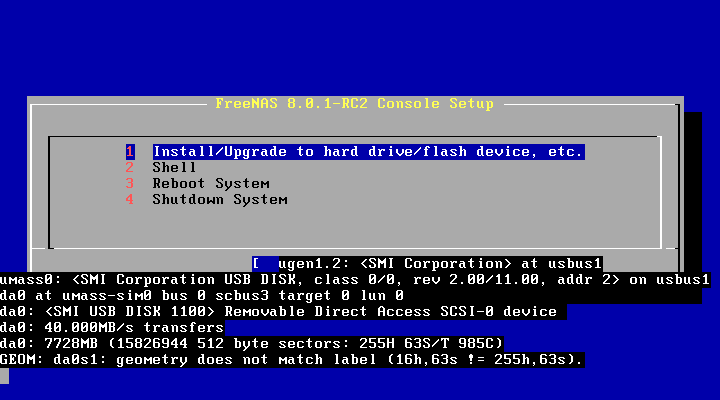
You may see a bunch of text like in the screen shot above when you attach the USB key. It’s nothing to be worried about, it’s just telling you that it detected it. Select #1 and hit “Enter”.
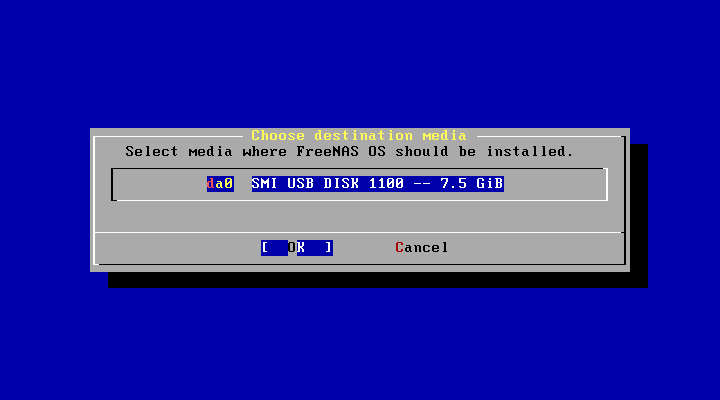
The USB key should be your only choice of destination media, hit “Enter”.
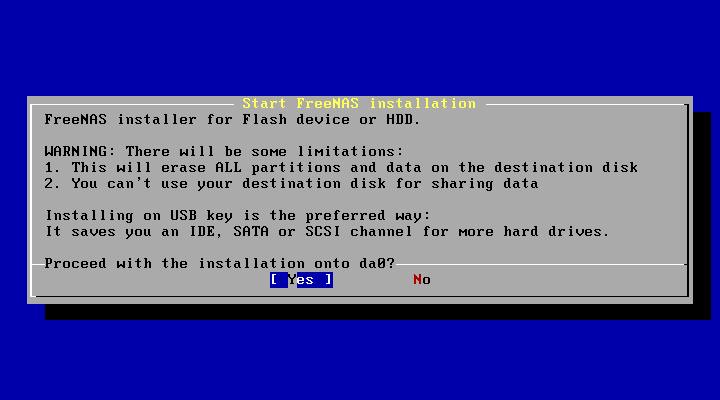
Hit “Y” for Yes.
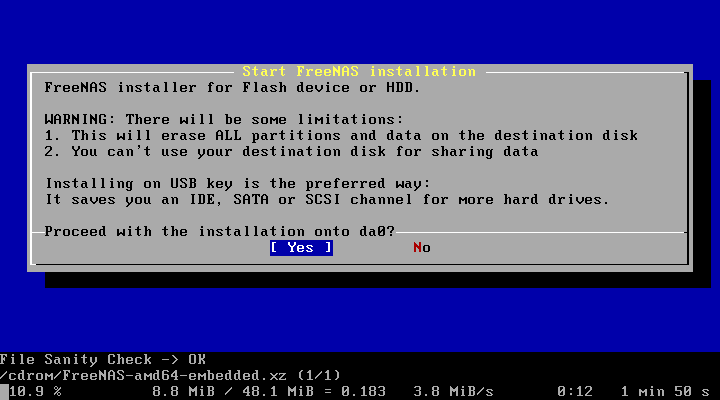
It will take approximately 5 minutes to install, the progress will be shown at the bottom of the screen as in the screen shot above.
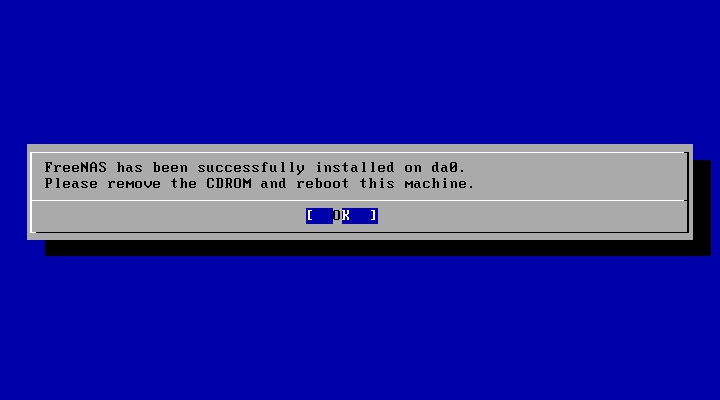
You’ll see this screen when the installation is done, hit “Enter”.
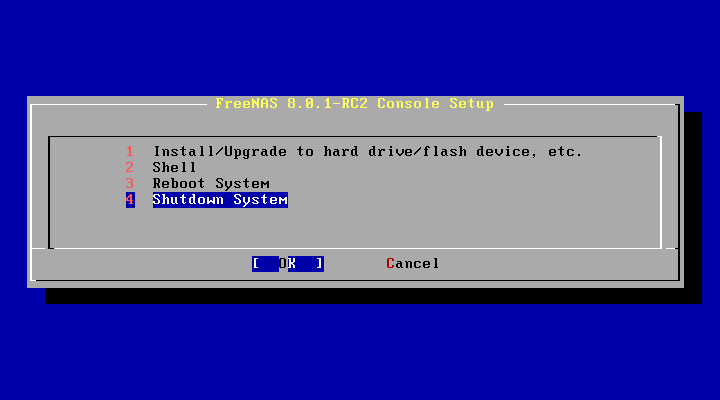
Select #4 and hit “Enter” to shutdown the VM.
That’s it! You can now plug the USB key into your physical storage system and power it on. You’ll want to have monitor plugged in when you do so you can see what DHCP address it picks up.
If your storage system is headless (i.e. no video capabilities), you can boot FreeNAS from the USB key inside the VM you created to install it, and configure a static IP prior to transferring the USB key over. That way you will know exactly what IP to connect to for the web interface. To do so, you will need a boot manager .iso, like Plop.
Cybersecurity Product Leader and internationally recognized Speaker at several Information Security conferences and events with over 26 years of experience as a proven leader in Cybersecurity, Product Management, Threat Hunting, Incident Response, IT Management, IT Architecture, IT Operations, IT Engineering, and Messaging Systems, on a global scale, across a diverse set of industries in both the Public and Private sectors.