I know what you're thinking, it's 2011, Windows Server 2008 R2 has been out for years, why are you writing tutorials for Windows Server 2003? Well many organizations still use it. While you may not create a brand new Forest or Domain for use in a production environment, you may find yourself in need of a test lab that mimics an existing 2003 production environment. In this tutorial, I'll show you how to do just that. In a later tutorial I'll show you how to upgrade Active Directory (AD) from 2003 to 2008 R2.
You will need:
- A server running Windows Server 2003.*
- The Windows Server 2003 installation disk, or disk image.**
*I recommend using a fresh install with all the latest updates applied. Microsoft used to offer a free trial of Windows Server 2003, but has since discontinued it. A TechNet subscription is the cheapest way to get access to licenses for Windows Server 2003, and the entire family of Microsoft's server products, if you don't already have it.
**Before you begin, make sure you have the install disk in the optical drive, or disk image (.iso) mounted.
Let's get started…
There are a couple of ways to start the Active Directory Installation Wizard. My favorite is to simply run "dcpromo".
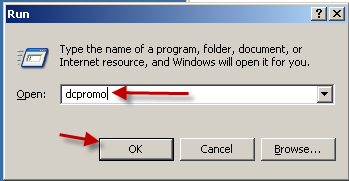
Click "Start" then "Run". Enter "dcpromo" in the "Open:" box, and click "Ok".
This starts the Active Directory Installation Wizard.
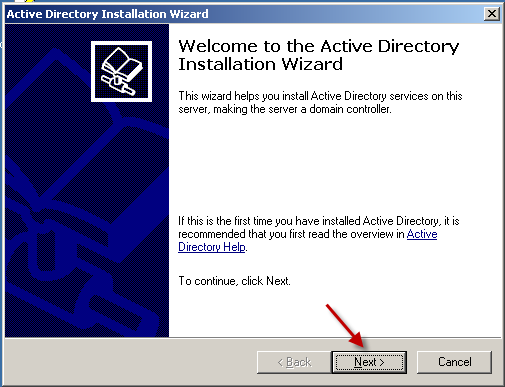
On the "Welcome" screen, click "Next".
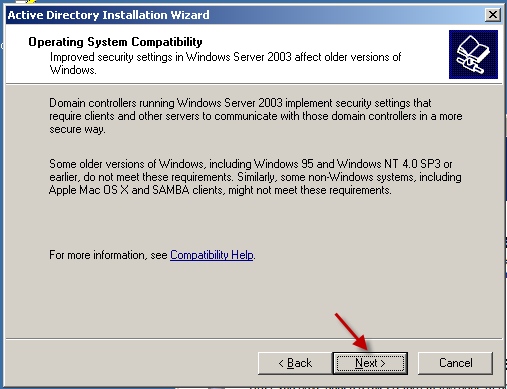
This screen gives you a warning about older operating systems that you'd hope no one is really still running these day. Unfortunately there are more of these old systems out there than you'd think. Click "Next".
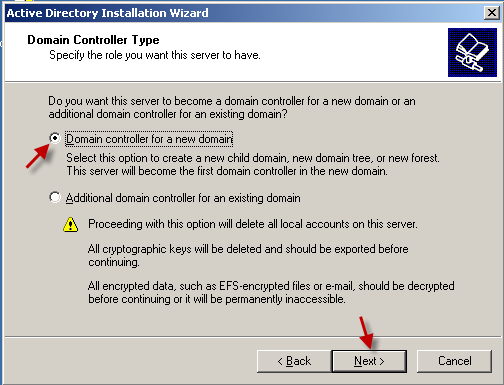
This is the first domain controller for our new Active Directory environment, so select "Domain controller for a new domain" and click "Next".
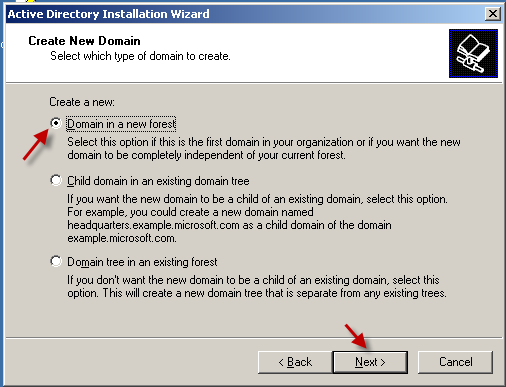
Again, this is a brand new Active Directory environment, so here we'll choose "Domain in a new forest" and click "Next".
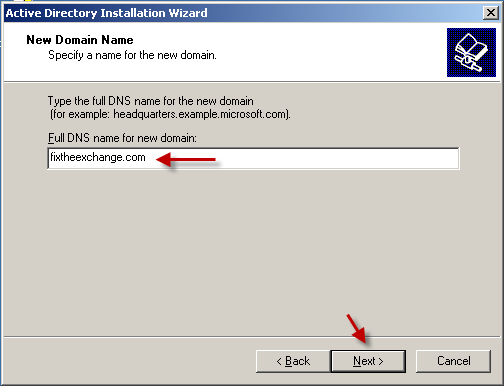
Here you must enter a name for your new domain. I used "fixtheexchange.com". Some places like to use ".int" for "internal" or ".dev" for "development". You could even use ".lab", it's up to you, so pick a name for your new AD Domain, and click "Next".
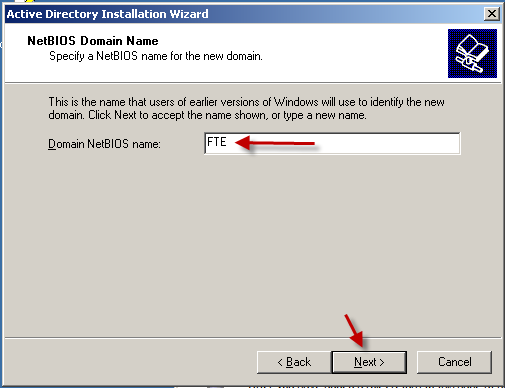
Here you have to enter a NetBIOS name. I like to shorten mine, so I used "FTE" short for "Fix the Exchange". Give yours a name that makes sense to you, and click "Next".
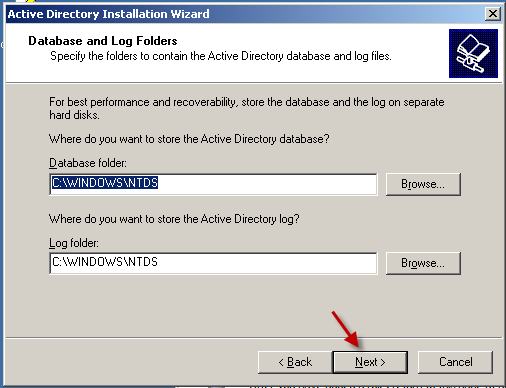
Here you can change the folder that AD stores the database and logs in. Since this is a test lab, I just left the default location. In production environments, I like to put these on their own drive, separate from the system drive. Click "Next".
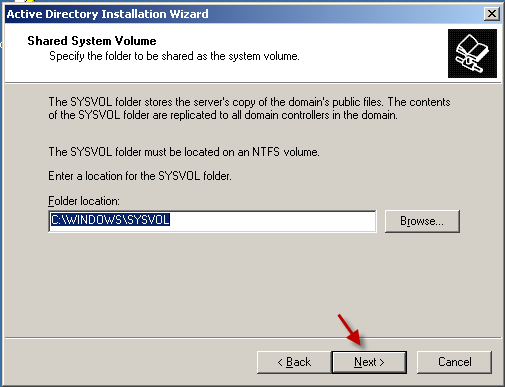
Here you can change the location of the SYSVOL folder. Click "Next".
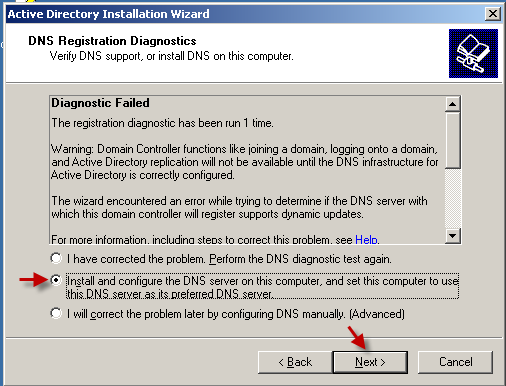
Active Directory relies on DNS. We could have installed it prior to starting the AD Install Wizard, but Microsoft was nice enough to include this option to do it for us. Select the option shown in the image above, and click "Next".
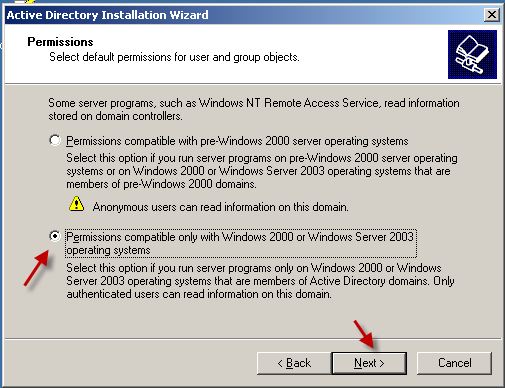
If you have older operating systems that will need to access the domain, select the first option, otherwise choose the 2nd, and click "Next".

Set and confirm a restore mode password (don't forget what it is!) and click "Next".
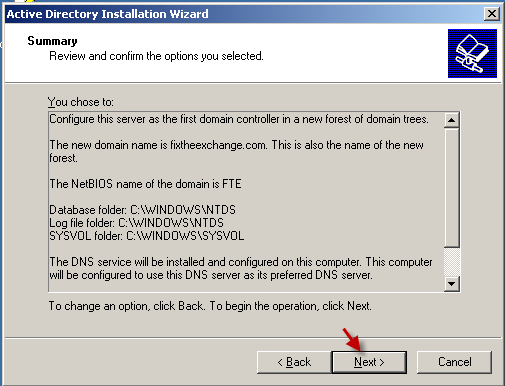
Click Next.
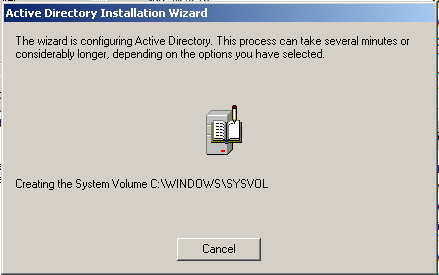
This part will take a little while, let it do its thing.
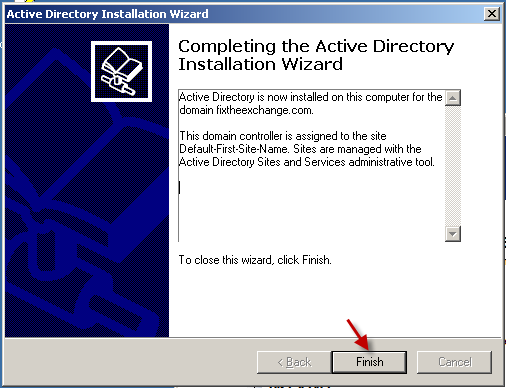
Click Finish!
That's it, you have a brand new Active Directory environment, containing a single domain in a single forest, ready for use!

Josh M. Bryant is currently a Director of Technical Product Management at Tanium where he builds products that help customers overcome the challenges of managing very large scale computing environments. Prior to joining Tanium, he was a Premier Field Engineer at Microsoft specializing in Microsoft Exchange Server, and then later a Cybersecurity Architect specializing in Compromise Recovery.