Installing an Operating System (O/S) can take hours. Good thing when it comes to deploying Virtual Machines (VMs), you really only need to do this once. So for the final installment of the "Budget Laboratory" series, I'm going to show you how to create a VM for use as an O/S template, using the vSphere client and the ESXi server we setup earlier in the series. Using this method, you'll only have to install each O/S you'd want to use on a VM once.
You will need:
- An ESXi server.
- A system running the vSphere client.
- An Operating System.*
*In the screenshots I am creating a Windows Server 2003 SP2 template for use in later articles. You can use any O/S you want, and should do this once for every O/S you intend to use in your lab. Don't forget to run sysprep if you're building a template for any Windows O/S.
Step 1: Create a New VM.
If you haven't already, login to your ESXi server with the vSphere client.
Right click on your ESXi server and click "New Virtual Machine…" or hit "CTRL+N" to bring up the "Create New Virtual Machine" wizzard.
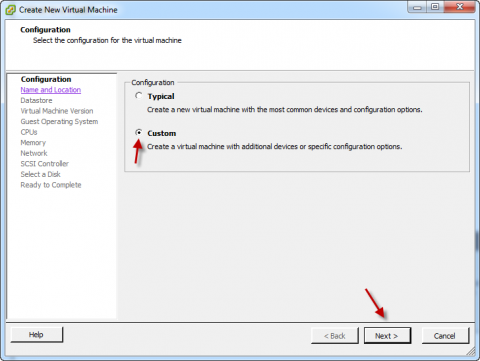
Select "Custom" then click "Next".
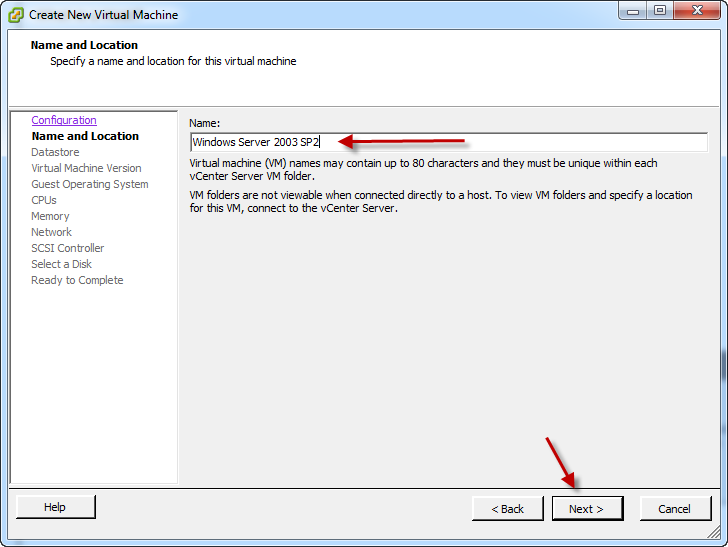
Give your template VM a name. I like to use the O/S name, and for Windows Servers, the Service Pack level. Click "Next".
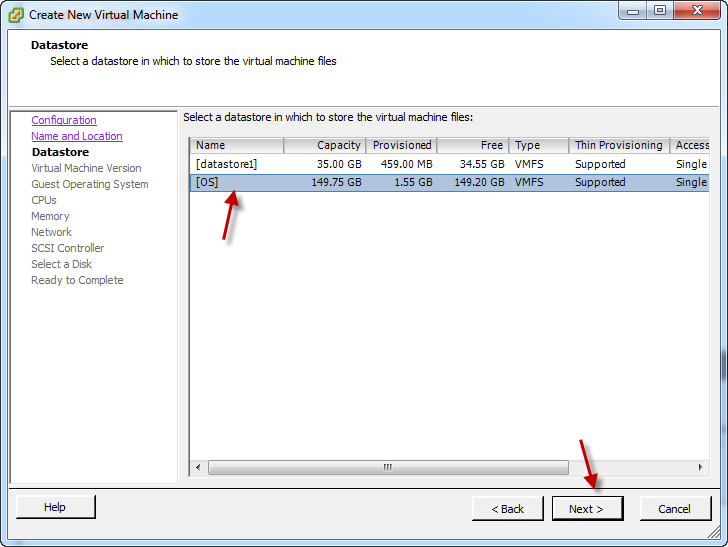
Select the Datastore you want to store the VM on. If you've followed this series up to this point, it should look similar to the screenshot above. Click "Next".

Select the VM Version and click "Next".
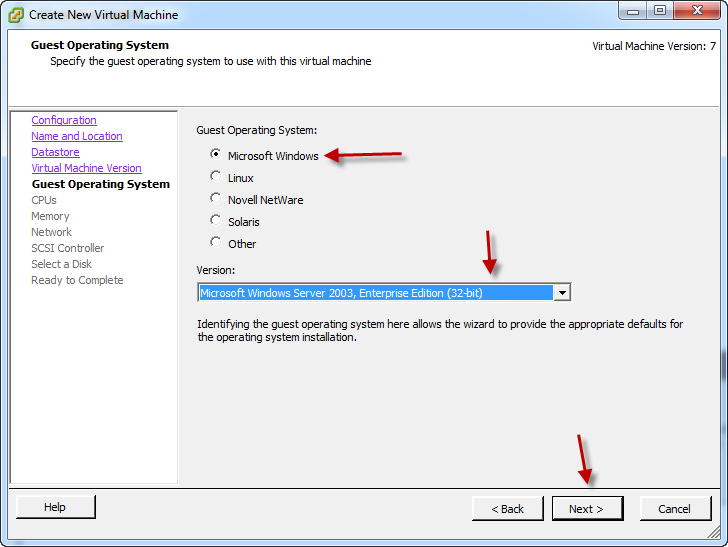
Select the O/S type for the O/S you'll be installing. I'm creating a Windows Server 2003 SP2 Enterprise server here for use in another article. You should choose the closest match to the O/S you're using. Click "Next".
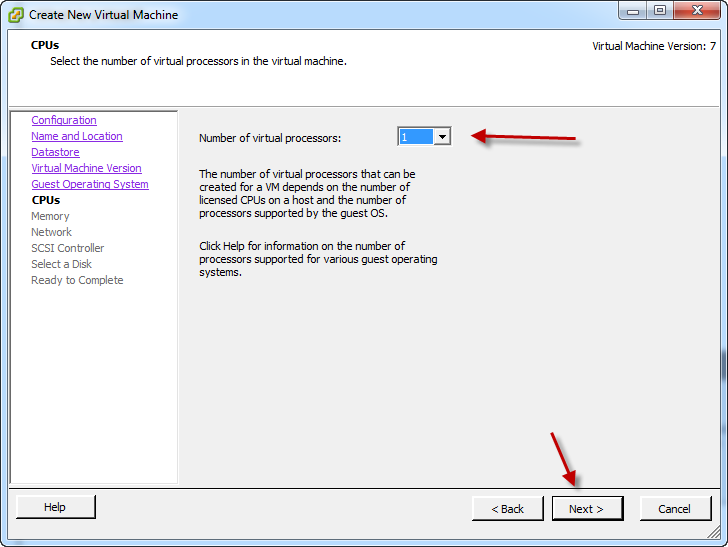
Select the number of processors. Since this is a template, use the bare minimum, you can change this before powering on VMs created using this template later on. Click "Next".
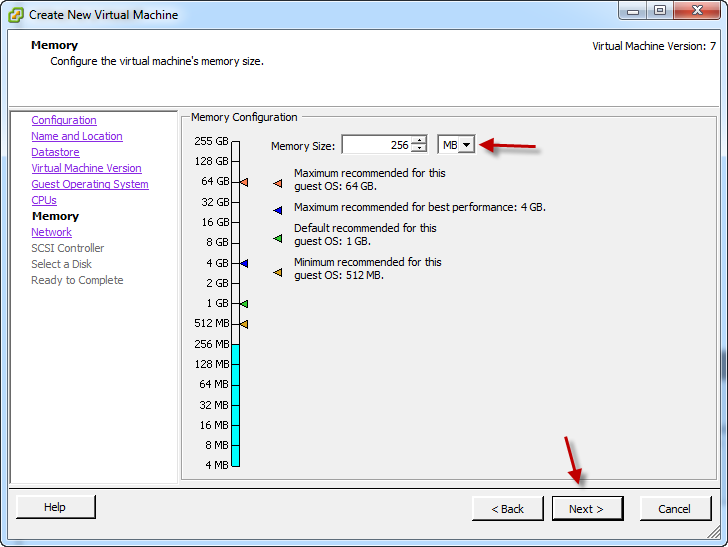
Set the amount of RAM available to the VM. Again, we want to use the bare minimum here. 256MB is the minimum requirement for the O/S I'm installing. Choose whatever the minimum is for the O/S you're installing, and click next.
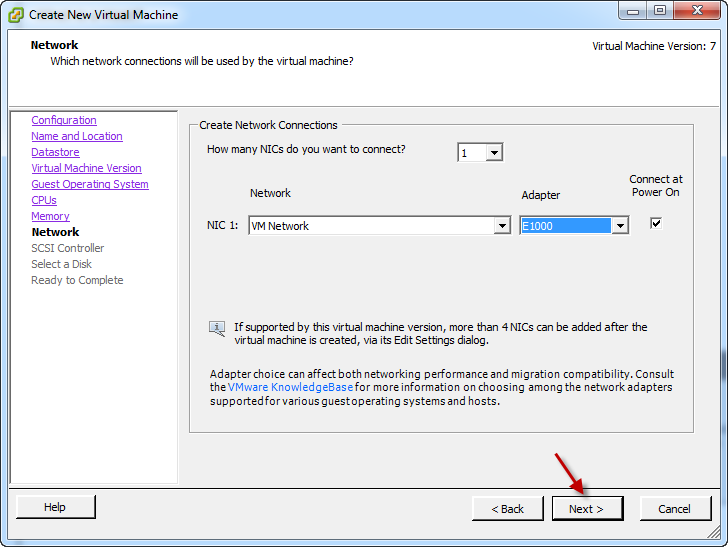
Select the number of NICs, again minimum, so 1 is fine, then click "Next".
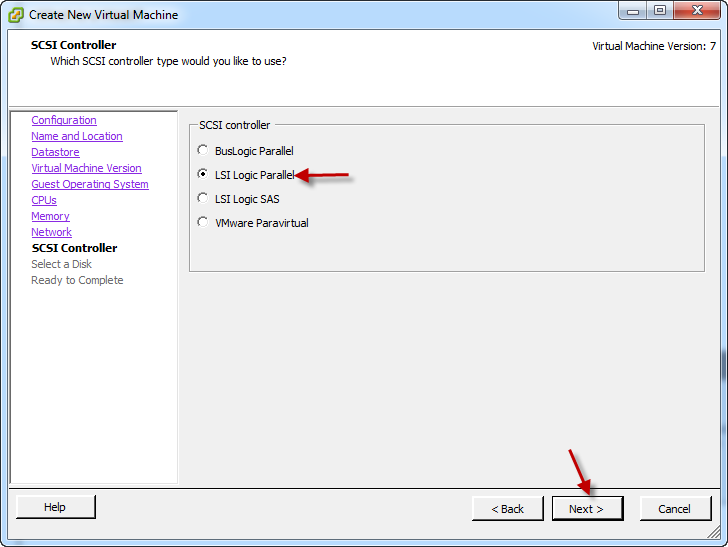
Choose the SCSI controller type, it should default to the recommend type for the O/S you're installing, then click "Next".
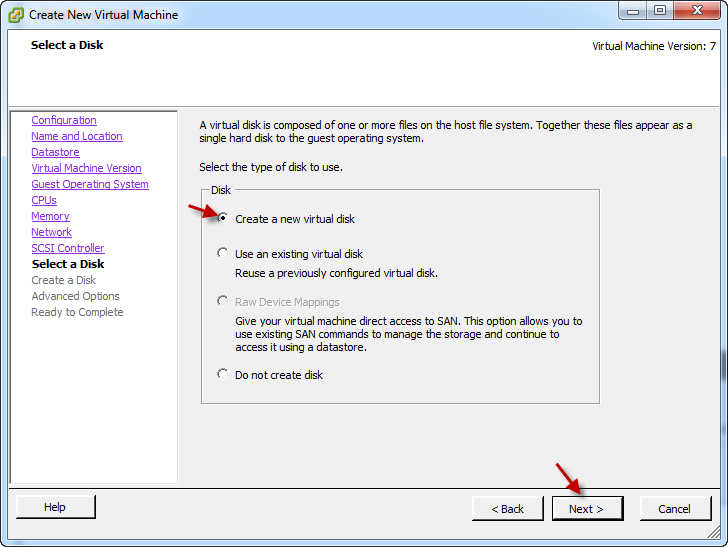
Select "Create a new virtual disk", and click "Next".

Set the disk size, again use the recommended minimum for the O/S you're installing. Specify the datastore to store the disk on, and click "Next".
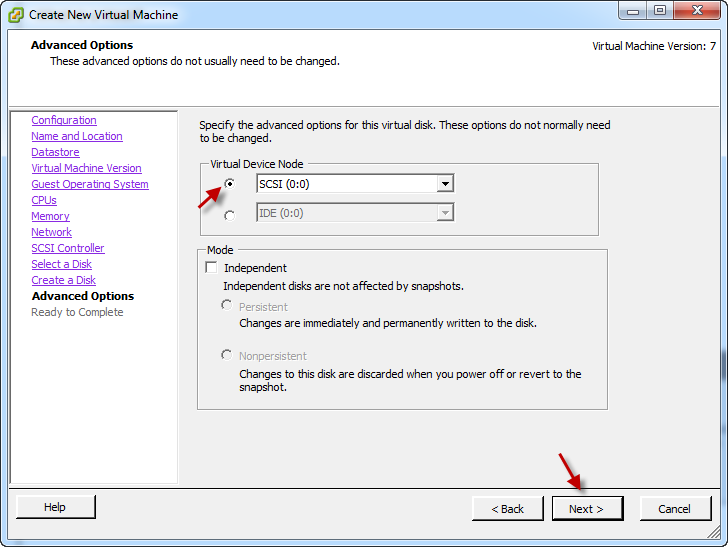
You can accept the defaults here and click "Next".
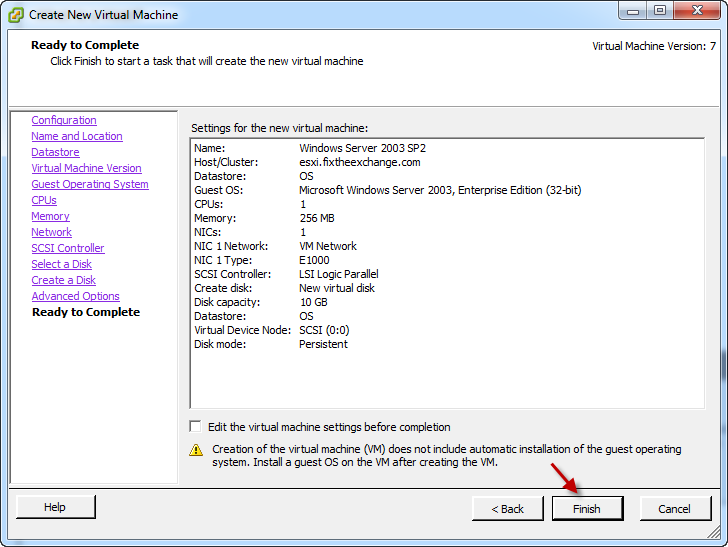
Click "Finish".
Step 2: Install the O/S.
You hopefully already know how to install an O/S. Install it just like you would on any other VM or Physical system. I will not bore you with screen shots and step by step on the Windows Server 2003 Install that I did while creating this article. This step can take some time depending on what O/S you're using.
Step 3: Install updates/patches.
If you installed Windows, use Windows Update. If you're using Linux, use your distributions package manager. Do whatever you need to to bring yoru O/S up to date. For a Windows Server 2003 system, you have to install Service Pack 2 before you can even use Windows Update, and then there are well over 100 updates that need to be installed after that. So this step can end up taking even longer than Step 2.
Step 4: Establish a baseline configuration.
If you're doing this on a work lab, or applying this technique to a production environment, apply any baseline configuration settings your company has established for the O/S. If you don't have a baseline, now is a good time to come up with one. Configure everything that a basic server needs.
Step 5: Make use of the Template.
Now that the O/S has been installed, updated, and configured, power it off. It doesn't need to be powered on using up resources, however you should power it on about once a month and repeat Step 3, just to keep it up to date.
With the template VM powered off, you can now copy it to quickly stand up new VMs.
Highlight your ESXi server and click the "Configuration" Tab.
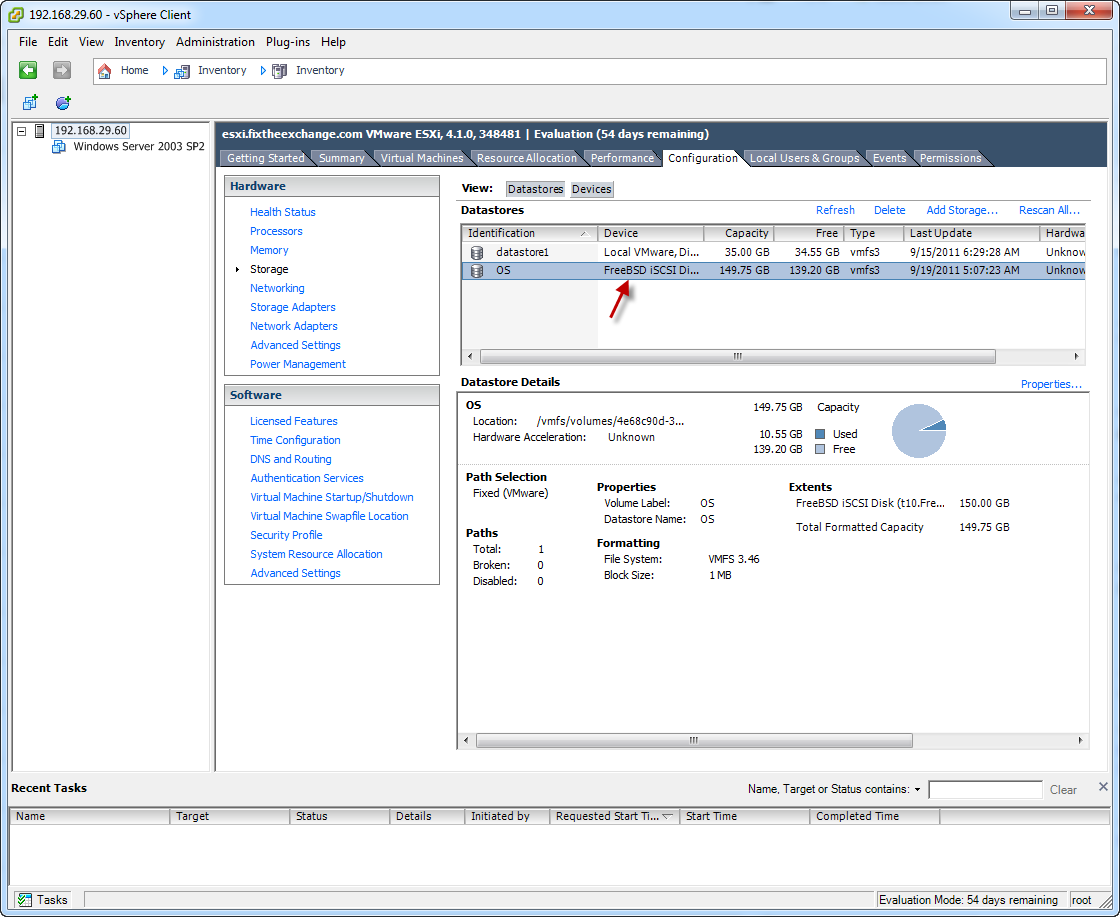
Select and right click the datastore you created your template VM on, then click "Browse Datastore…"
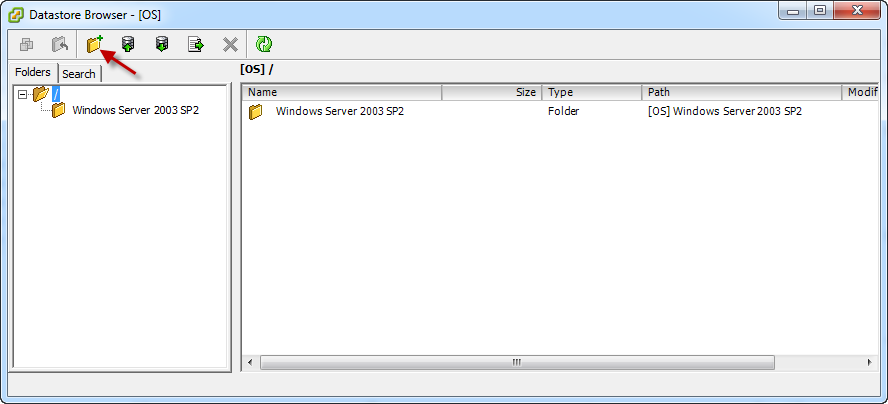
Create a new folder on the datastore by clicking the icon shown in the screenshot above.

Give the folder a name. I'm creating a Domain Controller, so I called mine "DC1".
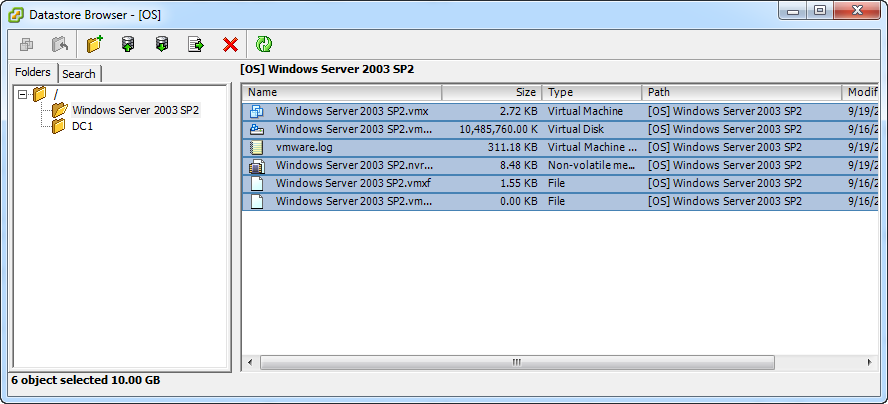
Browse to the folder for the VM template you created, and select all the files in it. Right click them then click "Copy".
Browse back to the folder you created for the new VM, right click in it, and click "Paste".
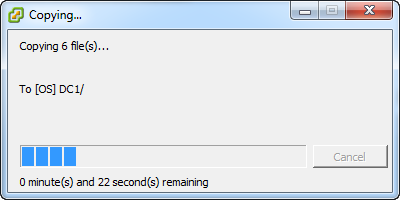
Wait for the files to copy.
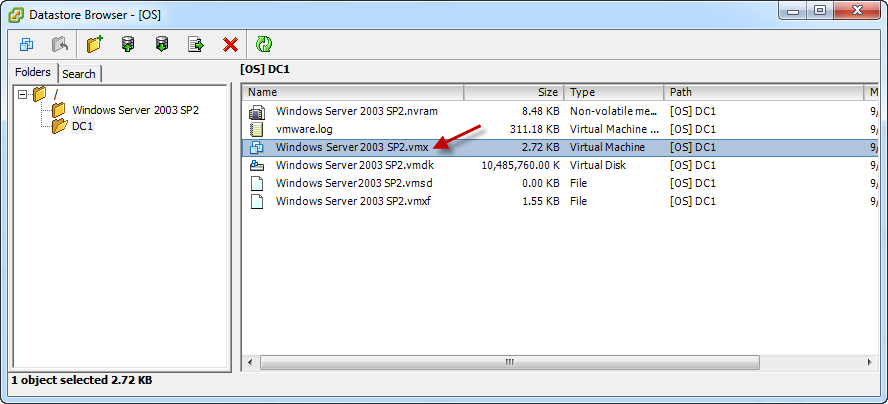
Right click on the ".vmx" file and click "Add to Inventory".
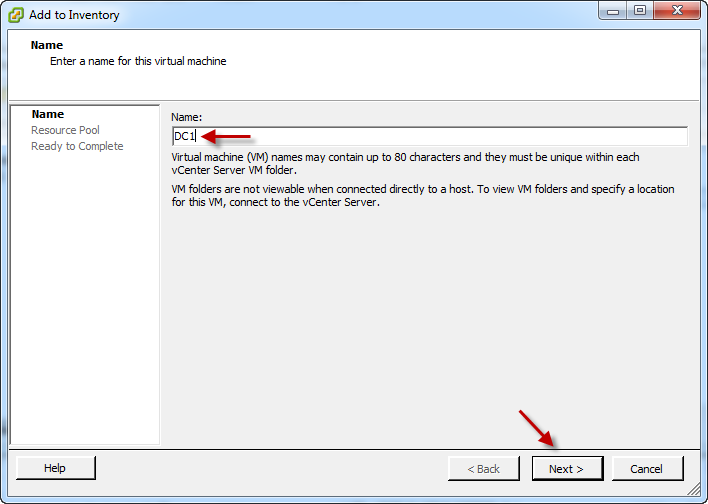
Give the new VM a name, then click "Next".
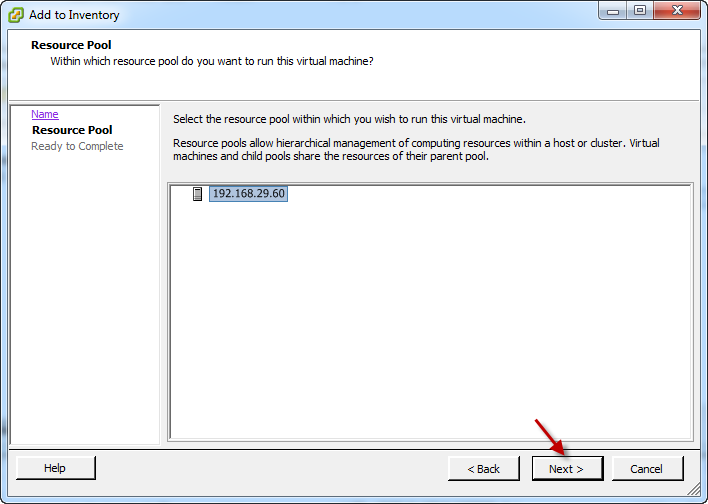
Select the resource pool you want to add the new VM to (we haven't created any for this series), then click "Next".
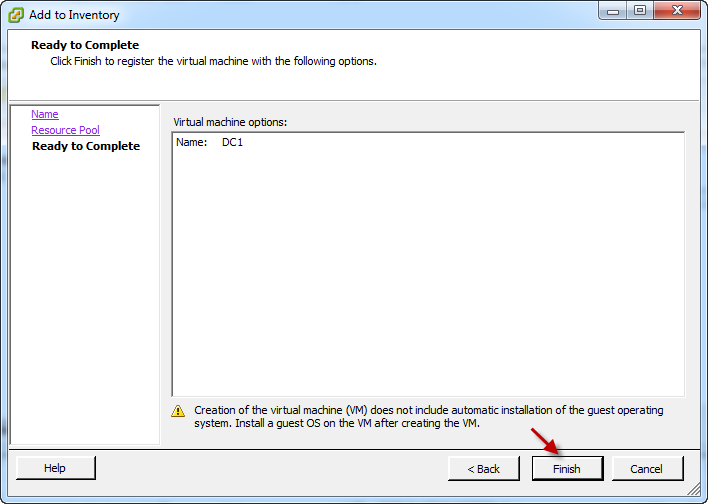
Click "Finish".
The new VM should now appear in your inventory. When you power it on you will see this:
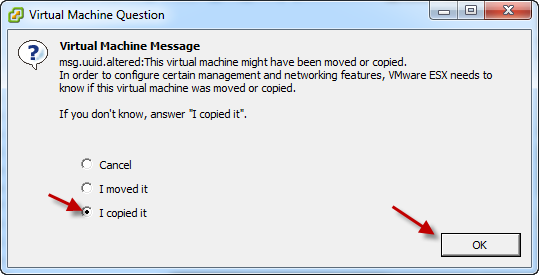
Select "I copied it" and click "OK".
That's it! You can repeat this procedure for ever O/S you want to use, then simply repeat Step 5 every time you want to create a new VM. Your new VMs should be fully patched and ready for final configuration (naming, IP assignment, application installation, etc.) within minutes!
Note: With vCenter Server, you can take this a step further and makes it even easier using the "Convert to template" feature. Once a VM is converted to a template in vCenter, you can deploy new VMs based on the template with just a few clicks. vCenter Server also has a 60 day trial, however it requires a 64-Bit Windows Server (which can be a VM). If you want to take advantage of the advanced features, like clustering and vMotion, you'll need a vCenter Server. The method outlined in this tutorial is the way you'll have to do it if you intend on sticking with the free version of ESXi.
If you followed this entire series, the foundation for your lab is now in place. You're ready to use to learn or test whatever you desire.

Josh M. Bryant is currently a Director of Technical Product Management at Tanium where he builds products that help customers overcome the challenges of managing very large scale computing environments. Prior to joining Tanium, he was a Premier Field Engineer at Microsoft specializing in Microsoft Exchange Server, and then later a Cybersecurity Architect specializing in Compromise Recovery.